This guide walks you through the steps required to register a new app via the JTL Partner Portal.
- A account in the JTL Cloud
- Be in a tenant that has a working wawi connected to it.
- (Optional) Download our example app template to get started quickly
Log in to the JTL Partner Portal. You will land on a page displaying a list of your currently registered apps. If this is your first time, the list will be empty, and you'll see a prompt to create your first app.
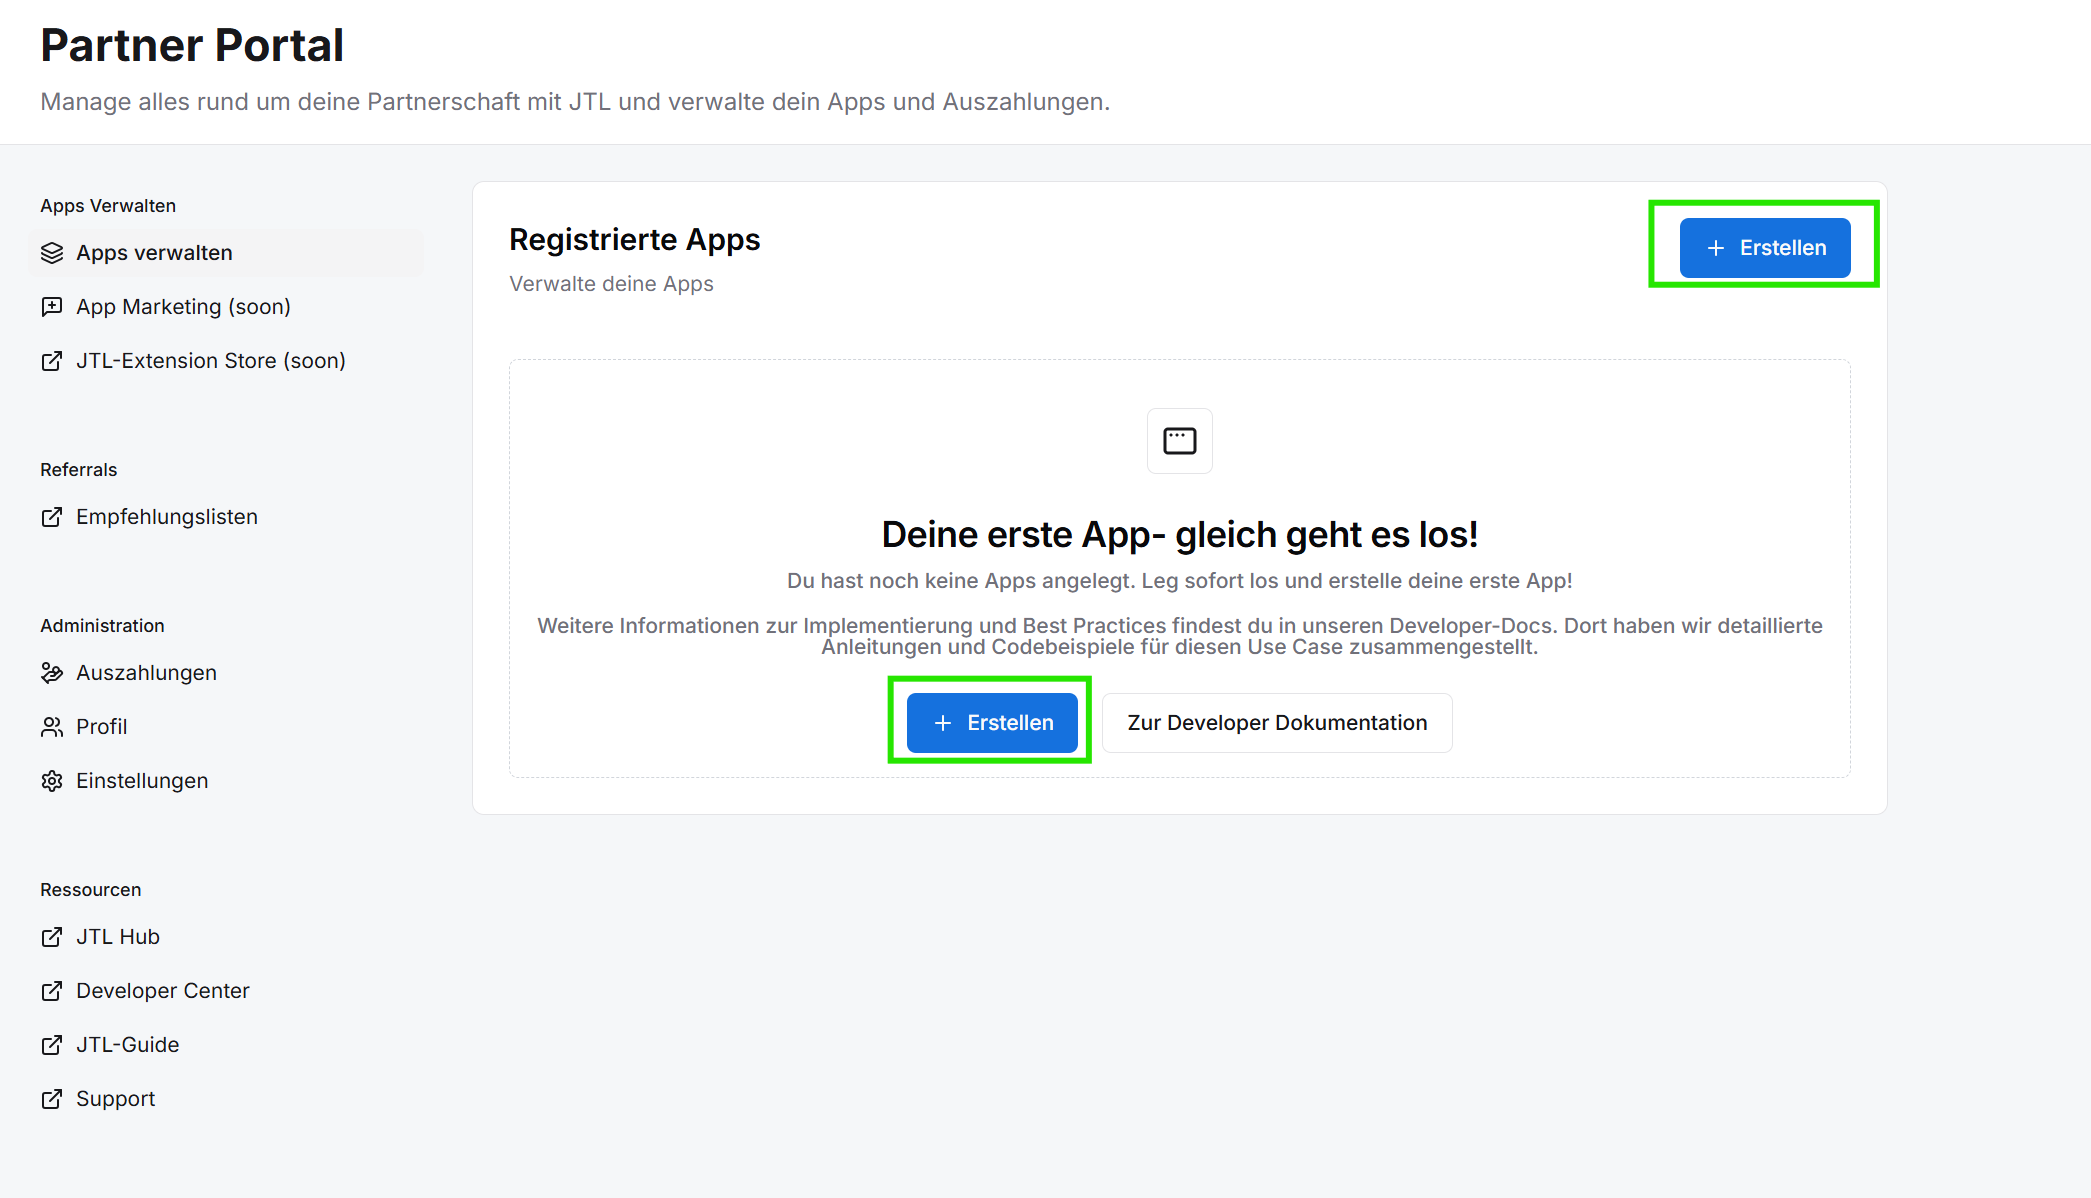
Click the "Erstellen" (Create) button to begin the registration process for a new app. You will be directed to a web-based editor. This editor is used to define your app's manifest.json file. The editor comes pre-filled with an example manifest to get you started. You can modify this example or replace it entirely with your own configuration.
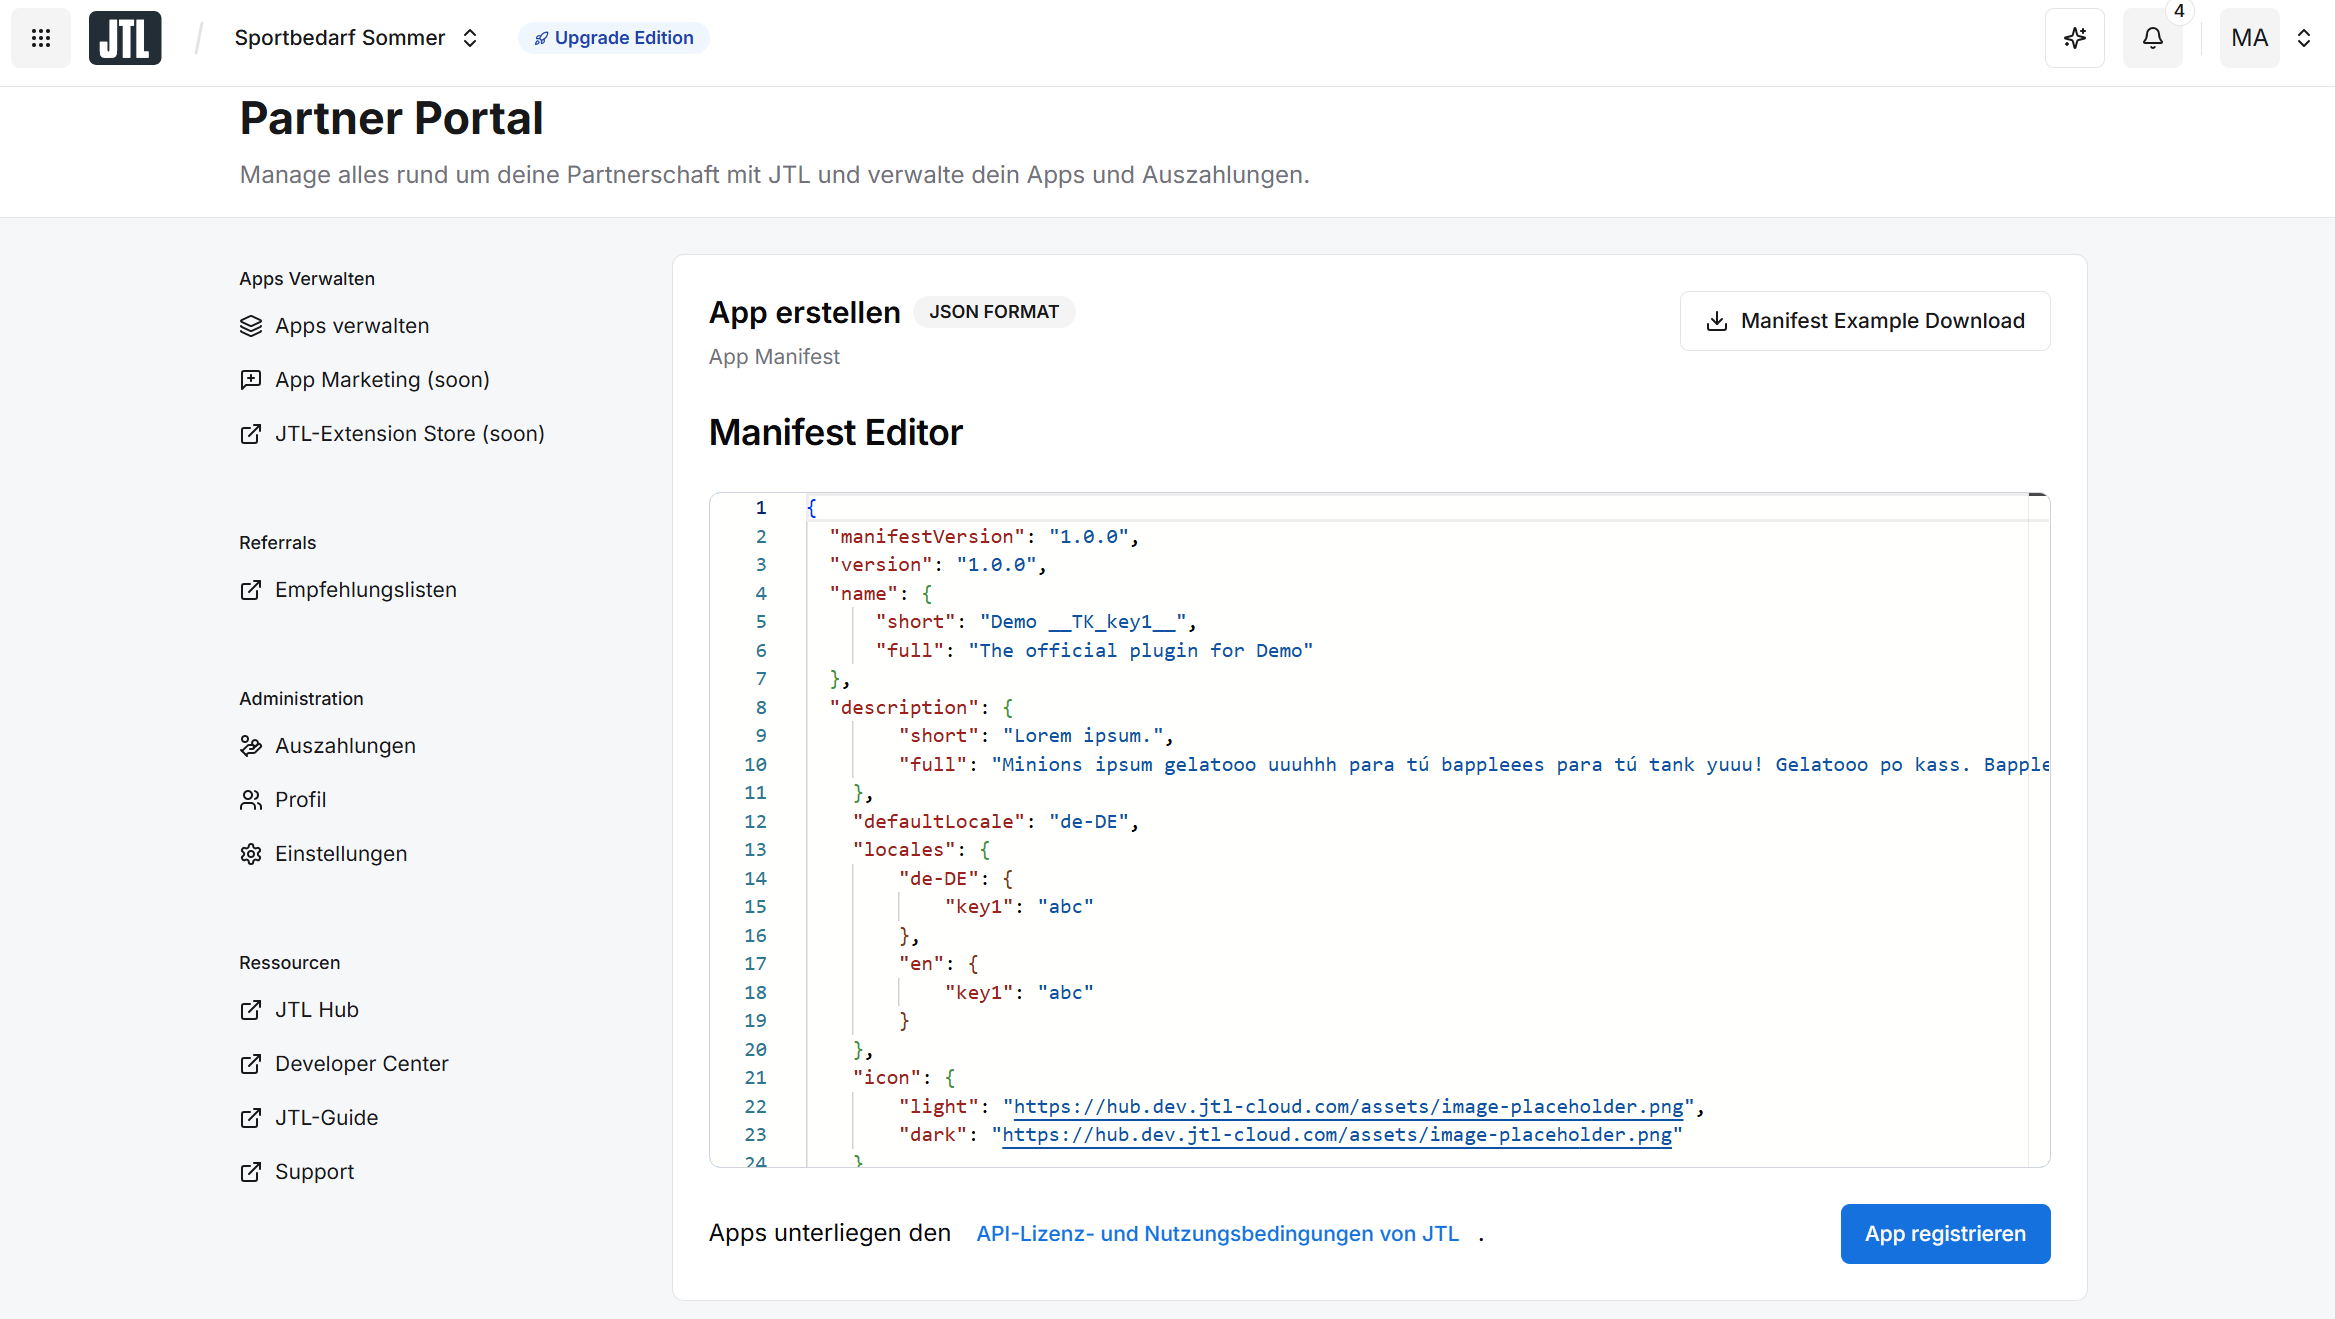
You are now free to edit the manifest to your desire. If you want to use the example App, you don't have to edit anything and can just directly head to "App registrieren" as the preloaded manifest works with it out of the box. If you are registering your own App, please head to the Manifest section to get detailed information about each of the parameters the manifest provides.
Upon finishing the manifest you can click on the "App registrieren" Button which will create an OAuth client for your App and lead you to the credetials of said App.
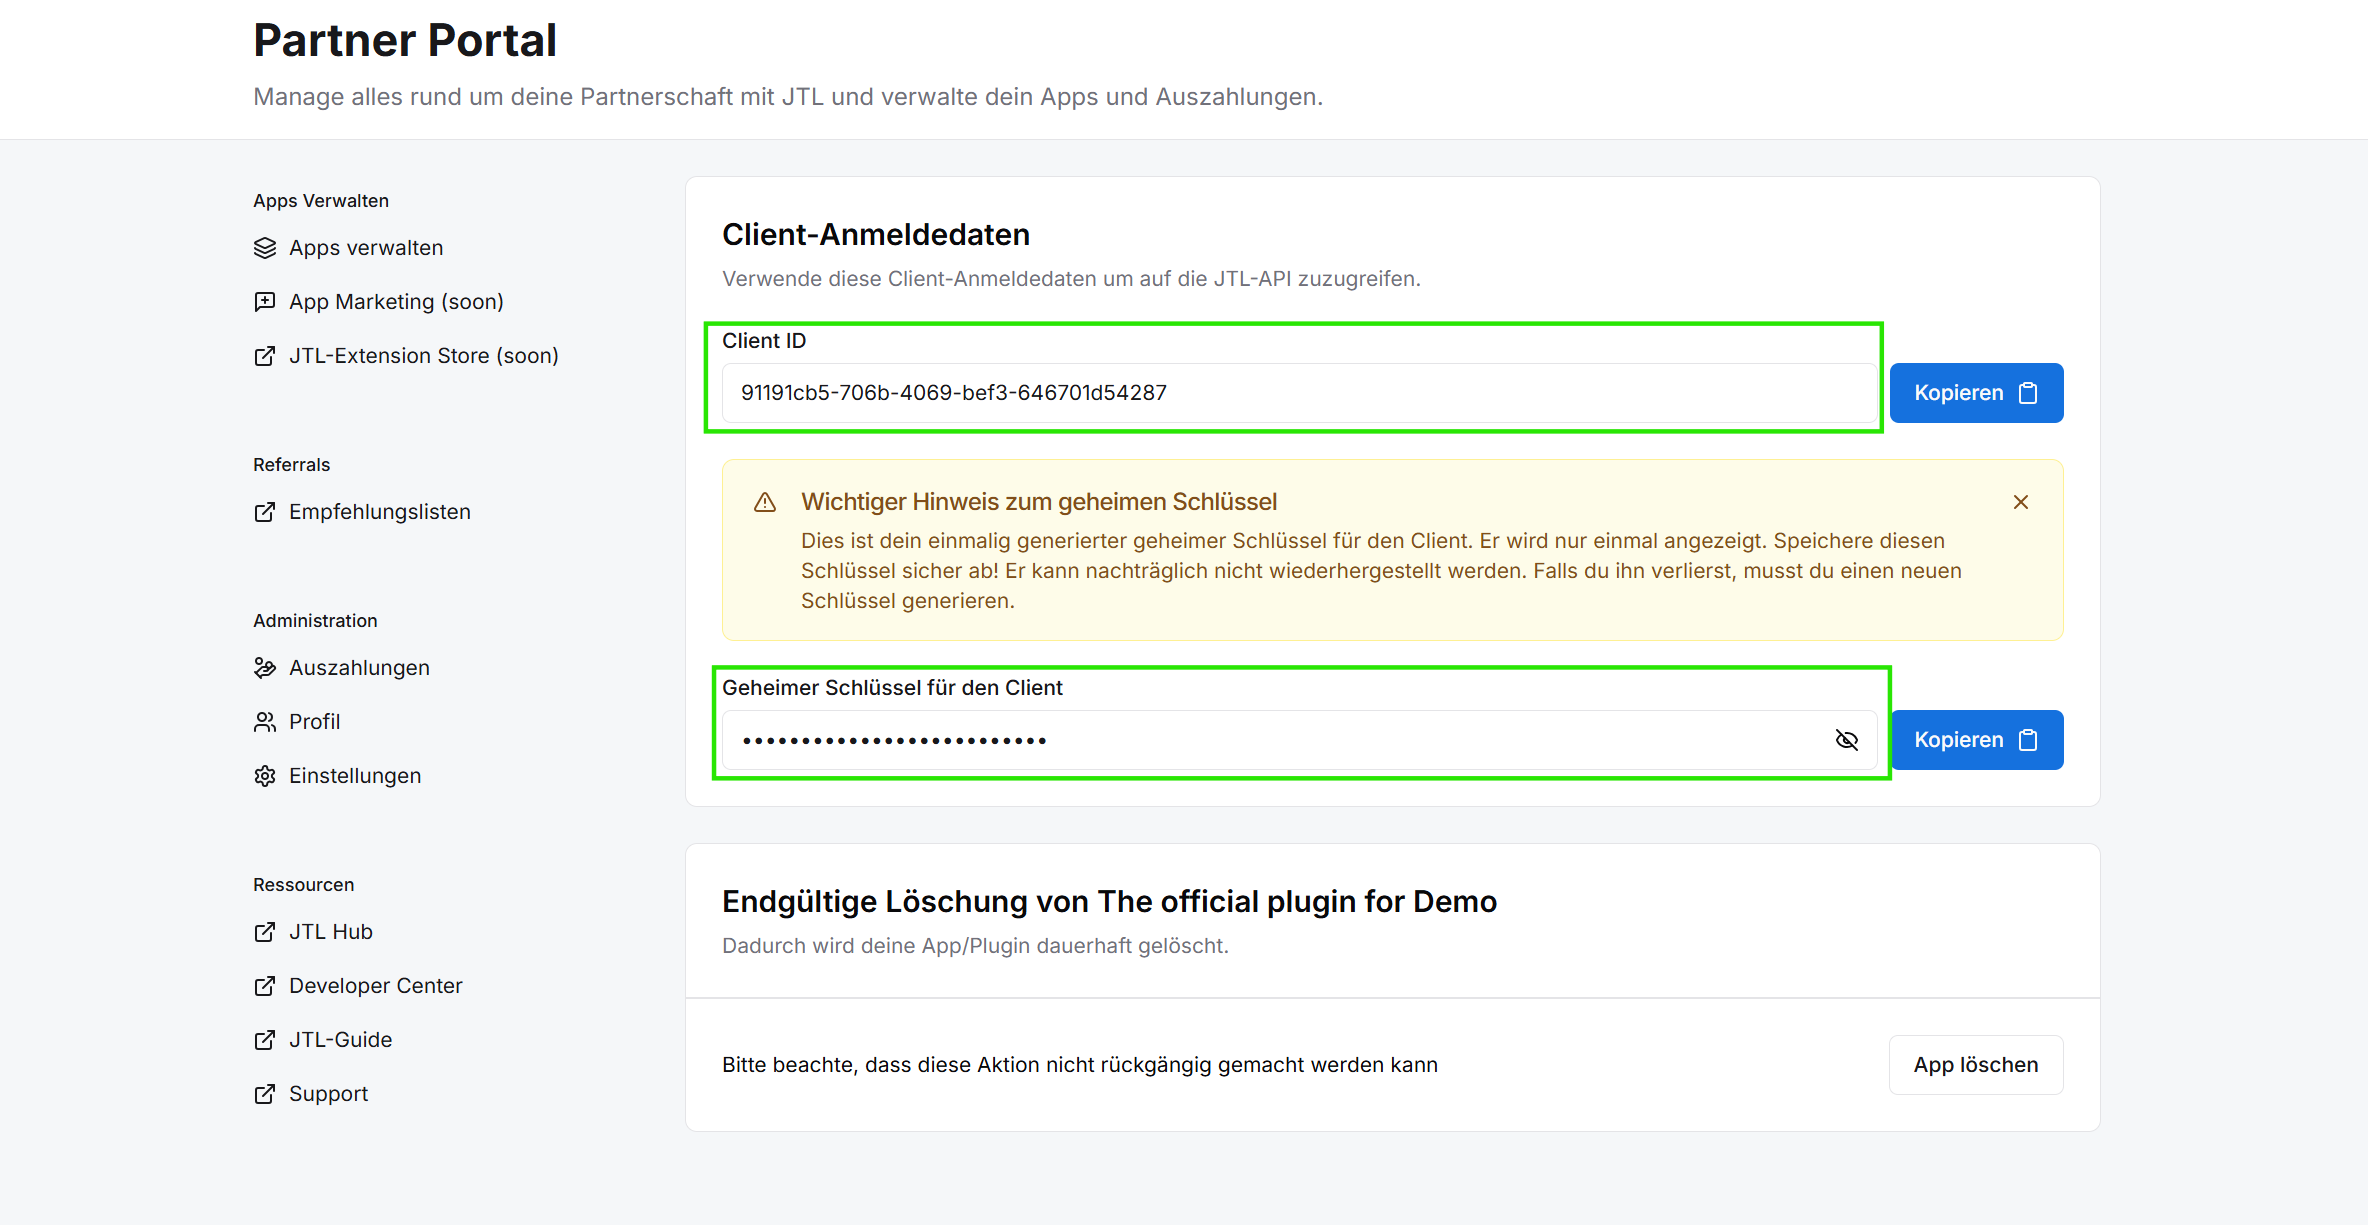
Currently, the app's Client Credentials (Client ID and Client Secret) are shown only once immediately after successful registration. Copy and securely save both the Client ID and the Client Secret, as you will need them to authenticate your app later!
The obtained credentials now need to be provided to your App in order to get a valid JWT token. More on that topic can be found in the Api-gateway
The App has been registred successfully you can go back to your registered-apps page which should now display your new registered app. (IMPORTANT: Currently a registered app manifest can't be edited after the fact! Still however, when clicking on the "Bearbeiten" button of a given registered app, you are navigated to its registered Manifest to double check it).
Once you have reached this point your app needs to be running and reachable in order to complete the rest of the flow. Accordingly if you have not done so yet, start the app frontend and backend respectively according to the README.md
Going Back to the hub, the app can now be found under "Apps in Entwicklung" and can be activated by clicking on its app card.
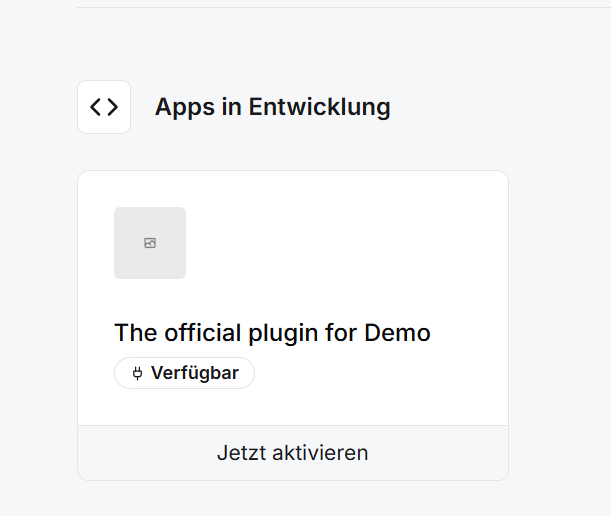
This will then open the connection dialog where the app can be connected by clicking the "Connect now with JTL Cloud Tenant" button.
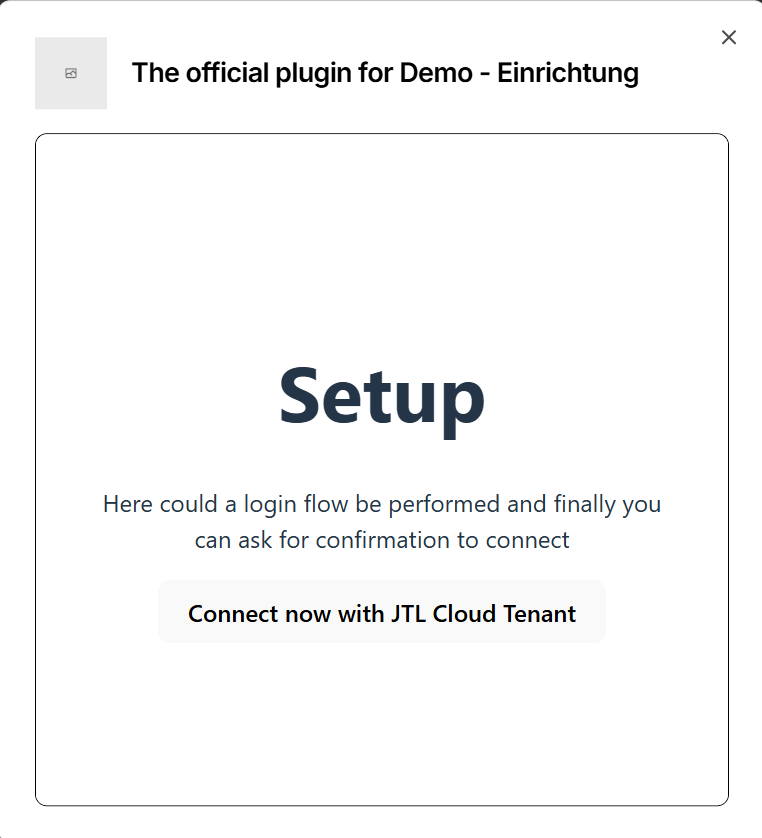
The screen shown here is what was defined in the setupUrl of your manifest!
Which when clicked will show a toast with the status of the request and make the app available in the erp if it was successful.
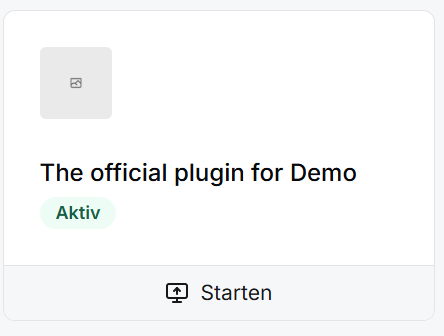
Once the app has been connected, it's card in the hub will be updated to show it's new "aktiv" state. It will also now be able to trigger it's hub capability by clicking on the card, which in the case of the example app will redirect to: http://localhost:50143/erp
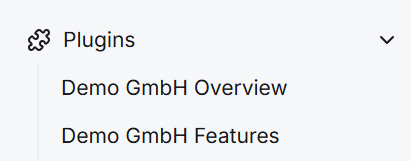
In the Erp the app is now made available in the apps tab of the sidebar, with all of the previously configured menu-items.
When the items are clicked, the corresponding part of your app will be displayed in the main section of the erp shell.
Important: If you are using the example manifest from this document the app has to be started locally. The example app can be found here it is located in /examples/hello-world-app. To get it um and running, please take a look at the README.md of the repository.
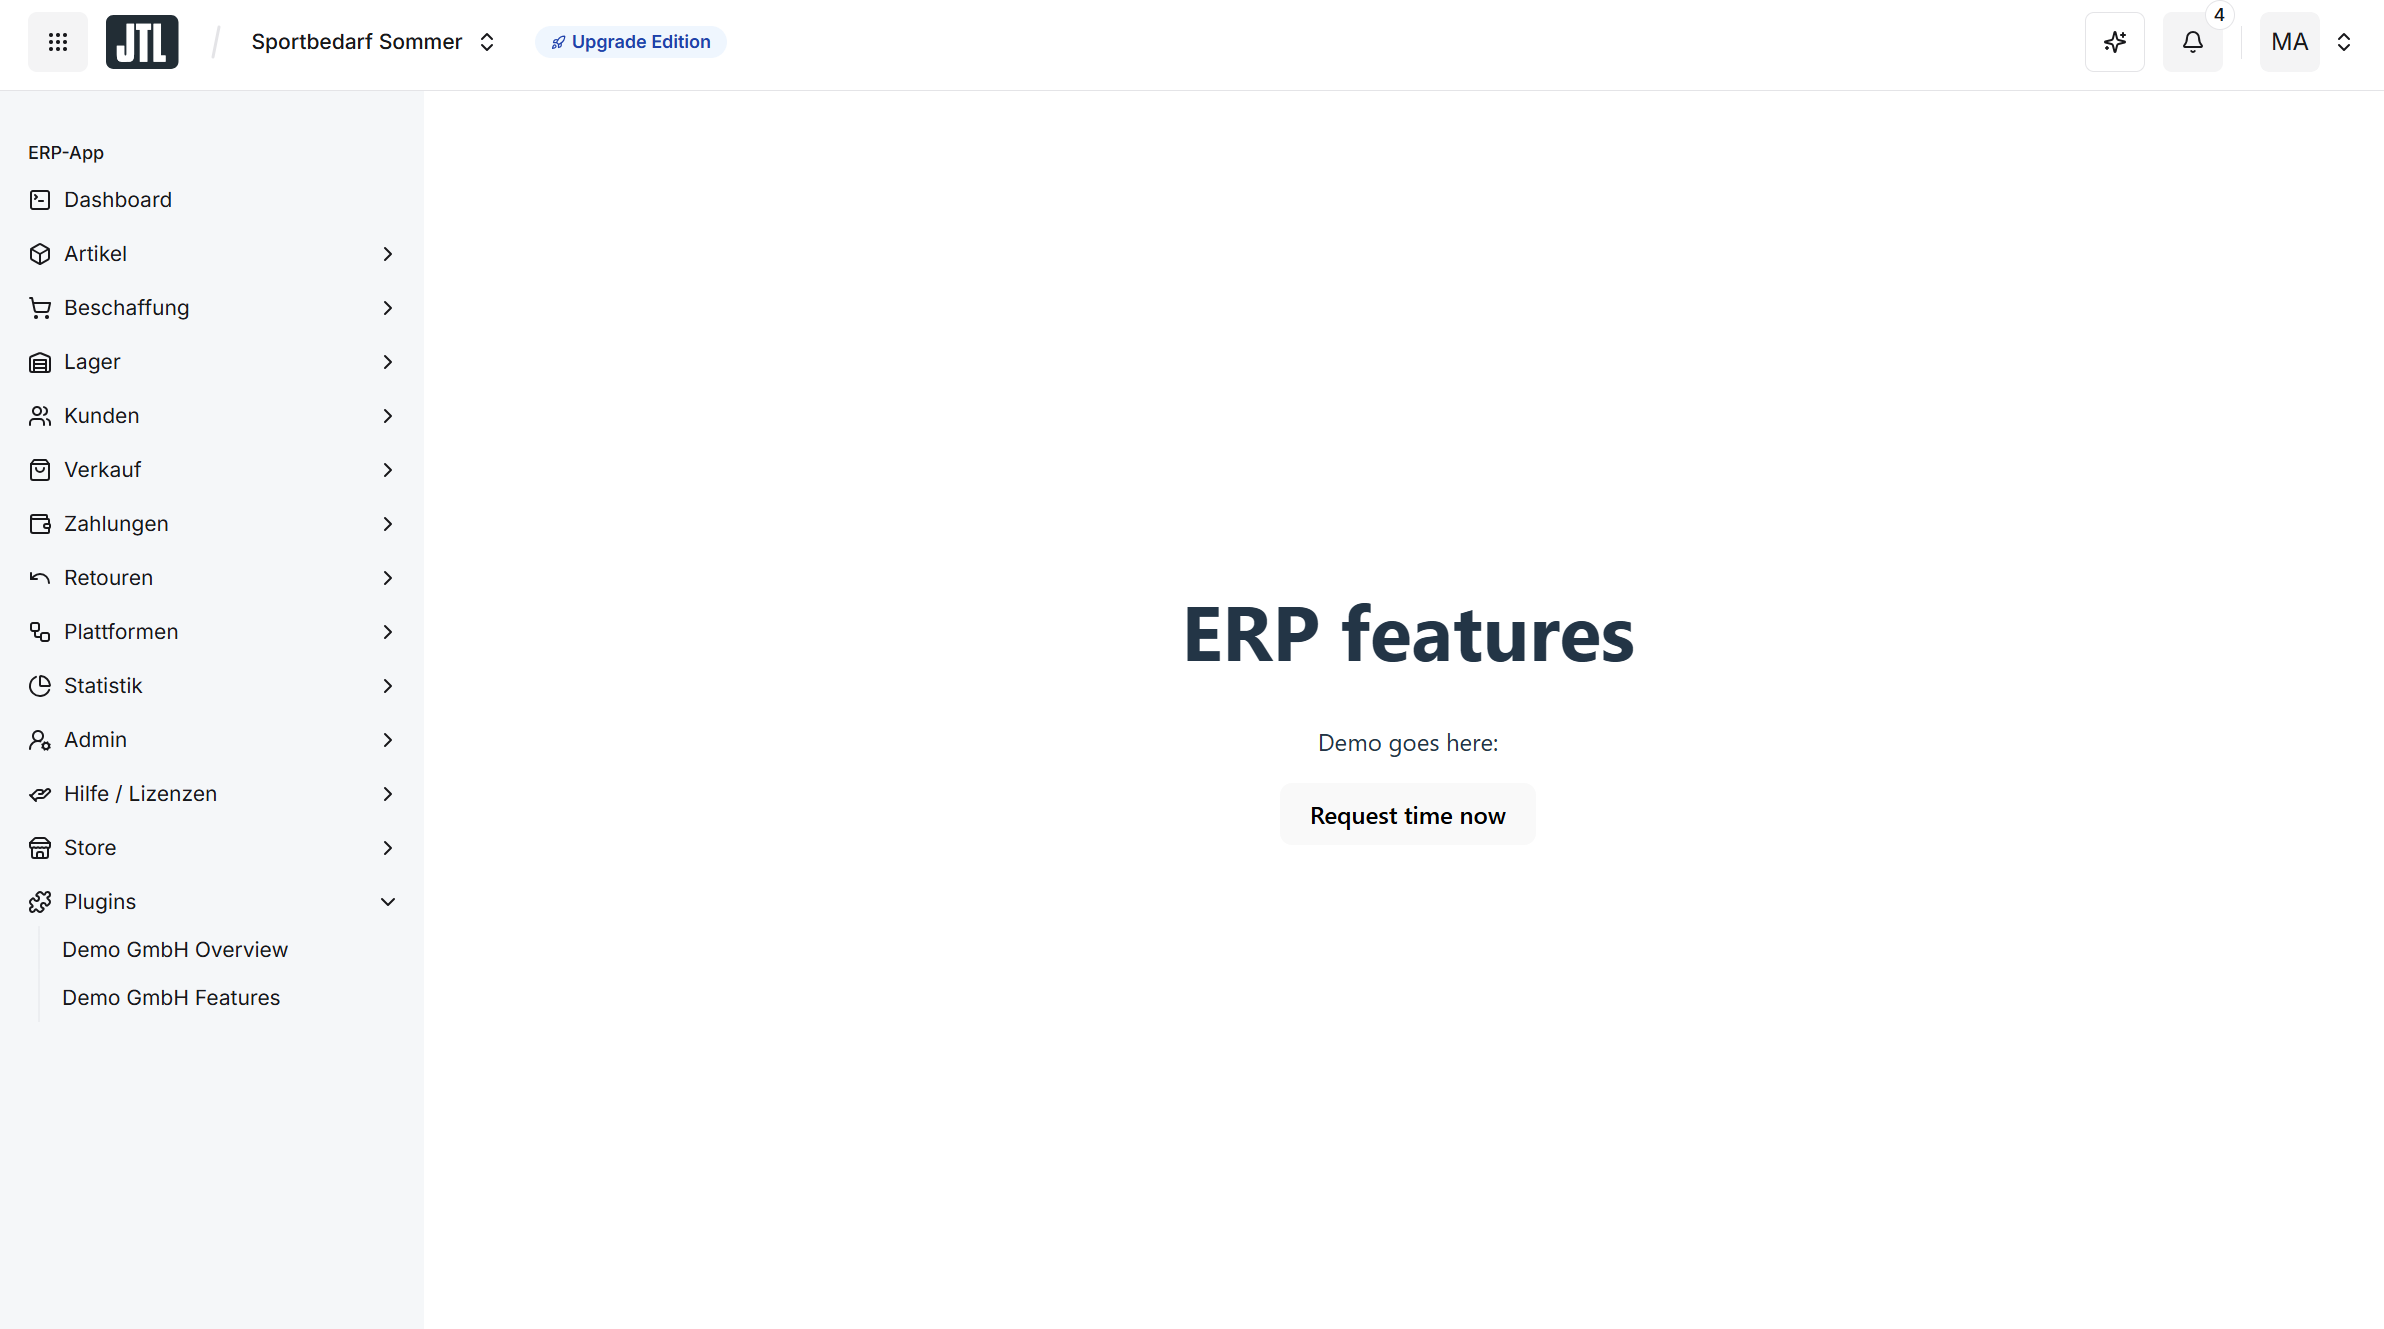
Congratulations! You have successfully registered, deployed, and integrated your app with the JTL Cloud ecosystem. Your app is now accessible both from the Hub and within the JTL-ERP interface.
- Explore the API Documentation to leverage additional JTL Cloud capabilities
- Learn about advanced manifest configurations to enhance your app's functionality
Happy developing!