

Before You Start
Your app needs to be registered, provisioned, and tested, and you need to Become a Seller to list it. Deploy your app to a public URL with HTTPS and update its URLs to production in the app manifest before you submit.Activation Codes
Merchants install a private app with an activation code you generate in JTL Hub. Each code is single-use: one code activates the app for one merchant. As a seller, you can generate as many codes as you need. Without a listing, you’re limited to three.The Listing Manifest
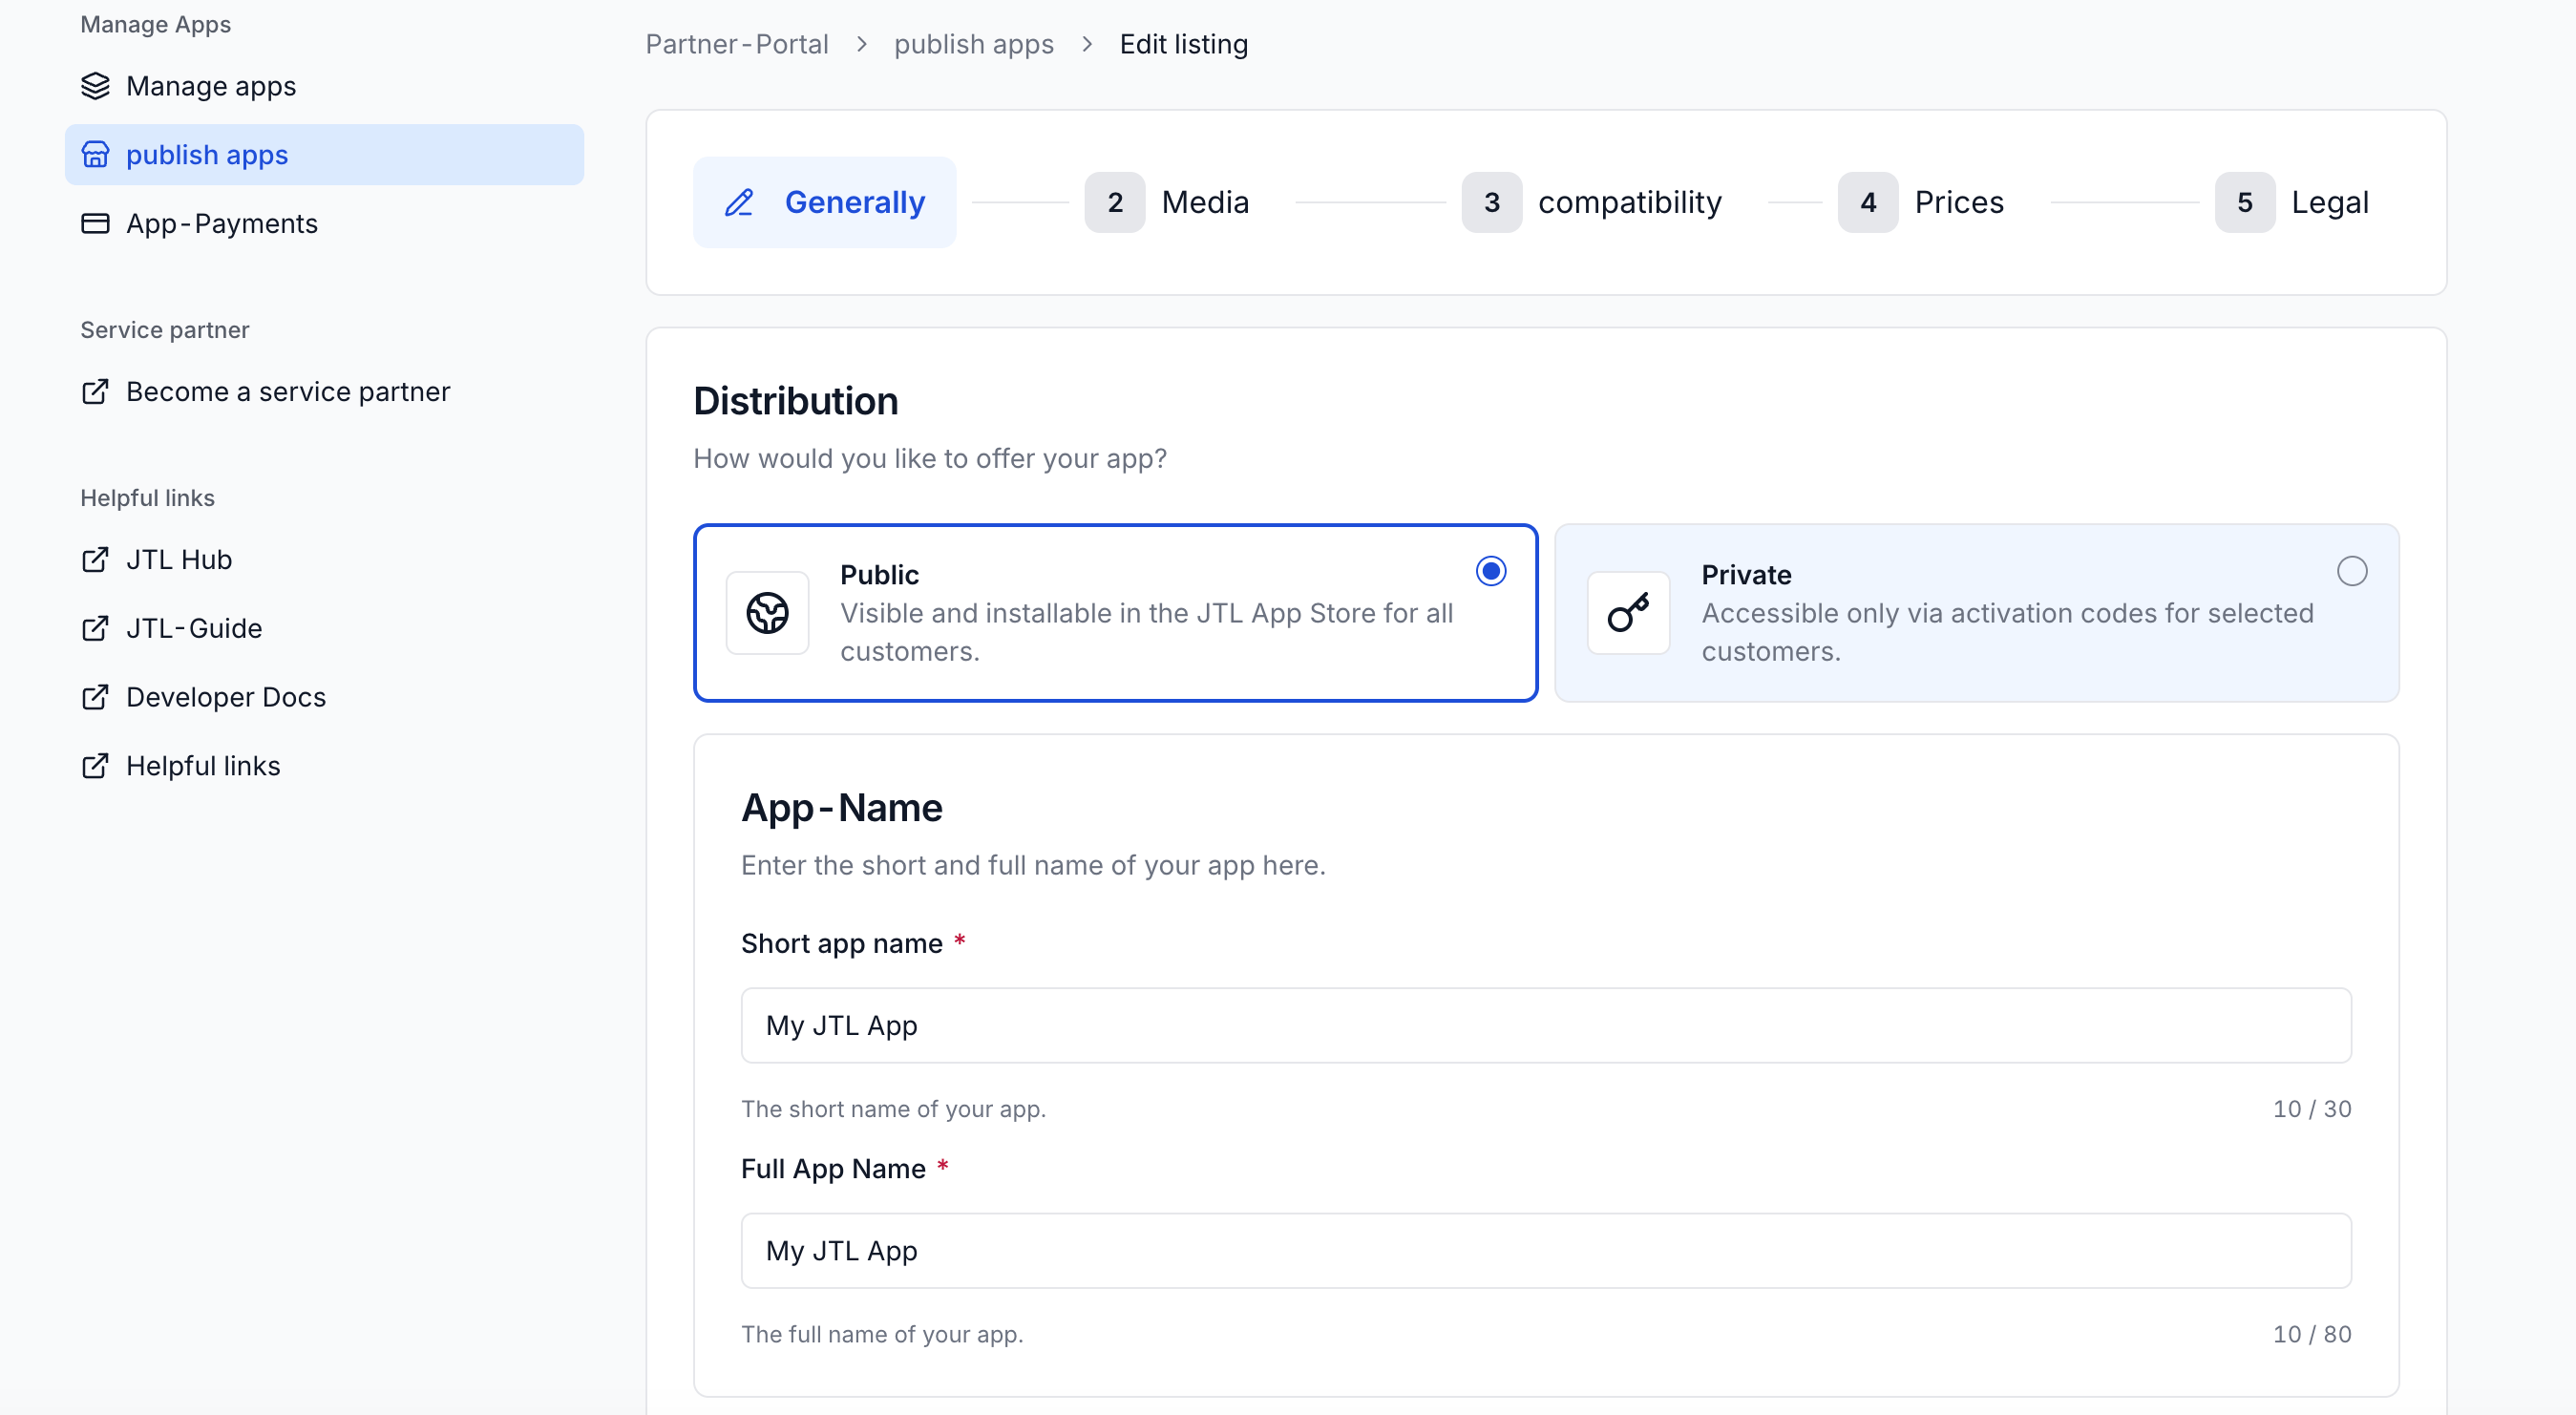
You define your listing in a manifest. SetdistributionType to PRIVATE to keep it out of the App Store.
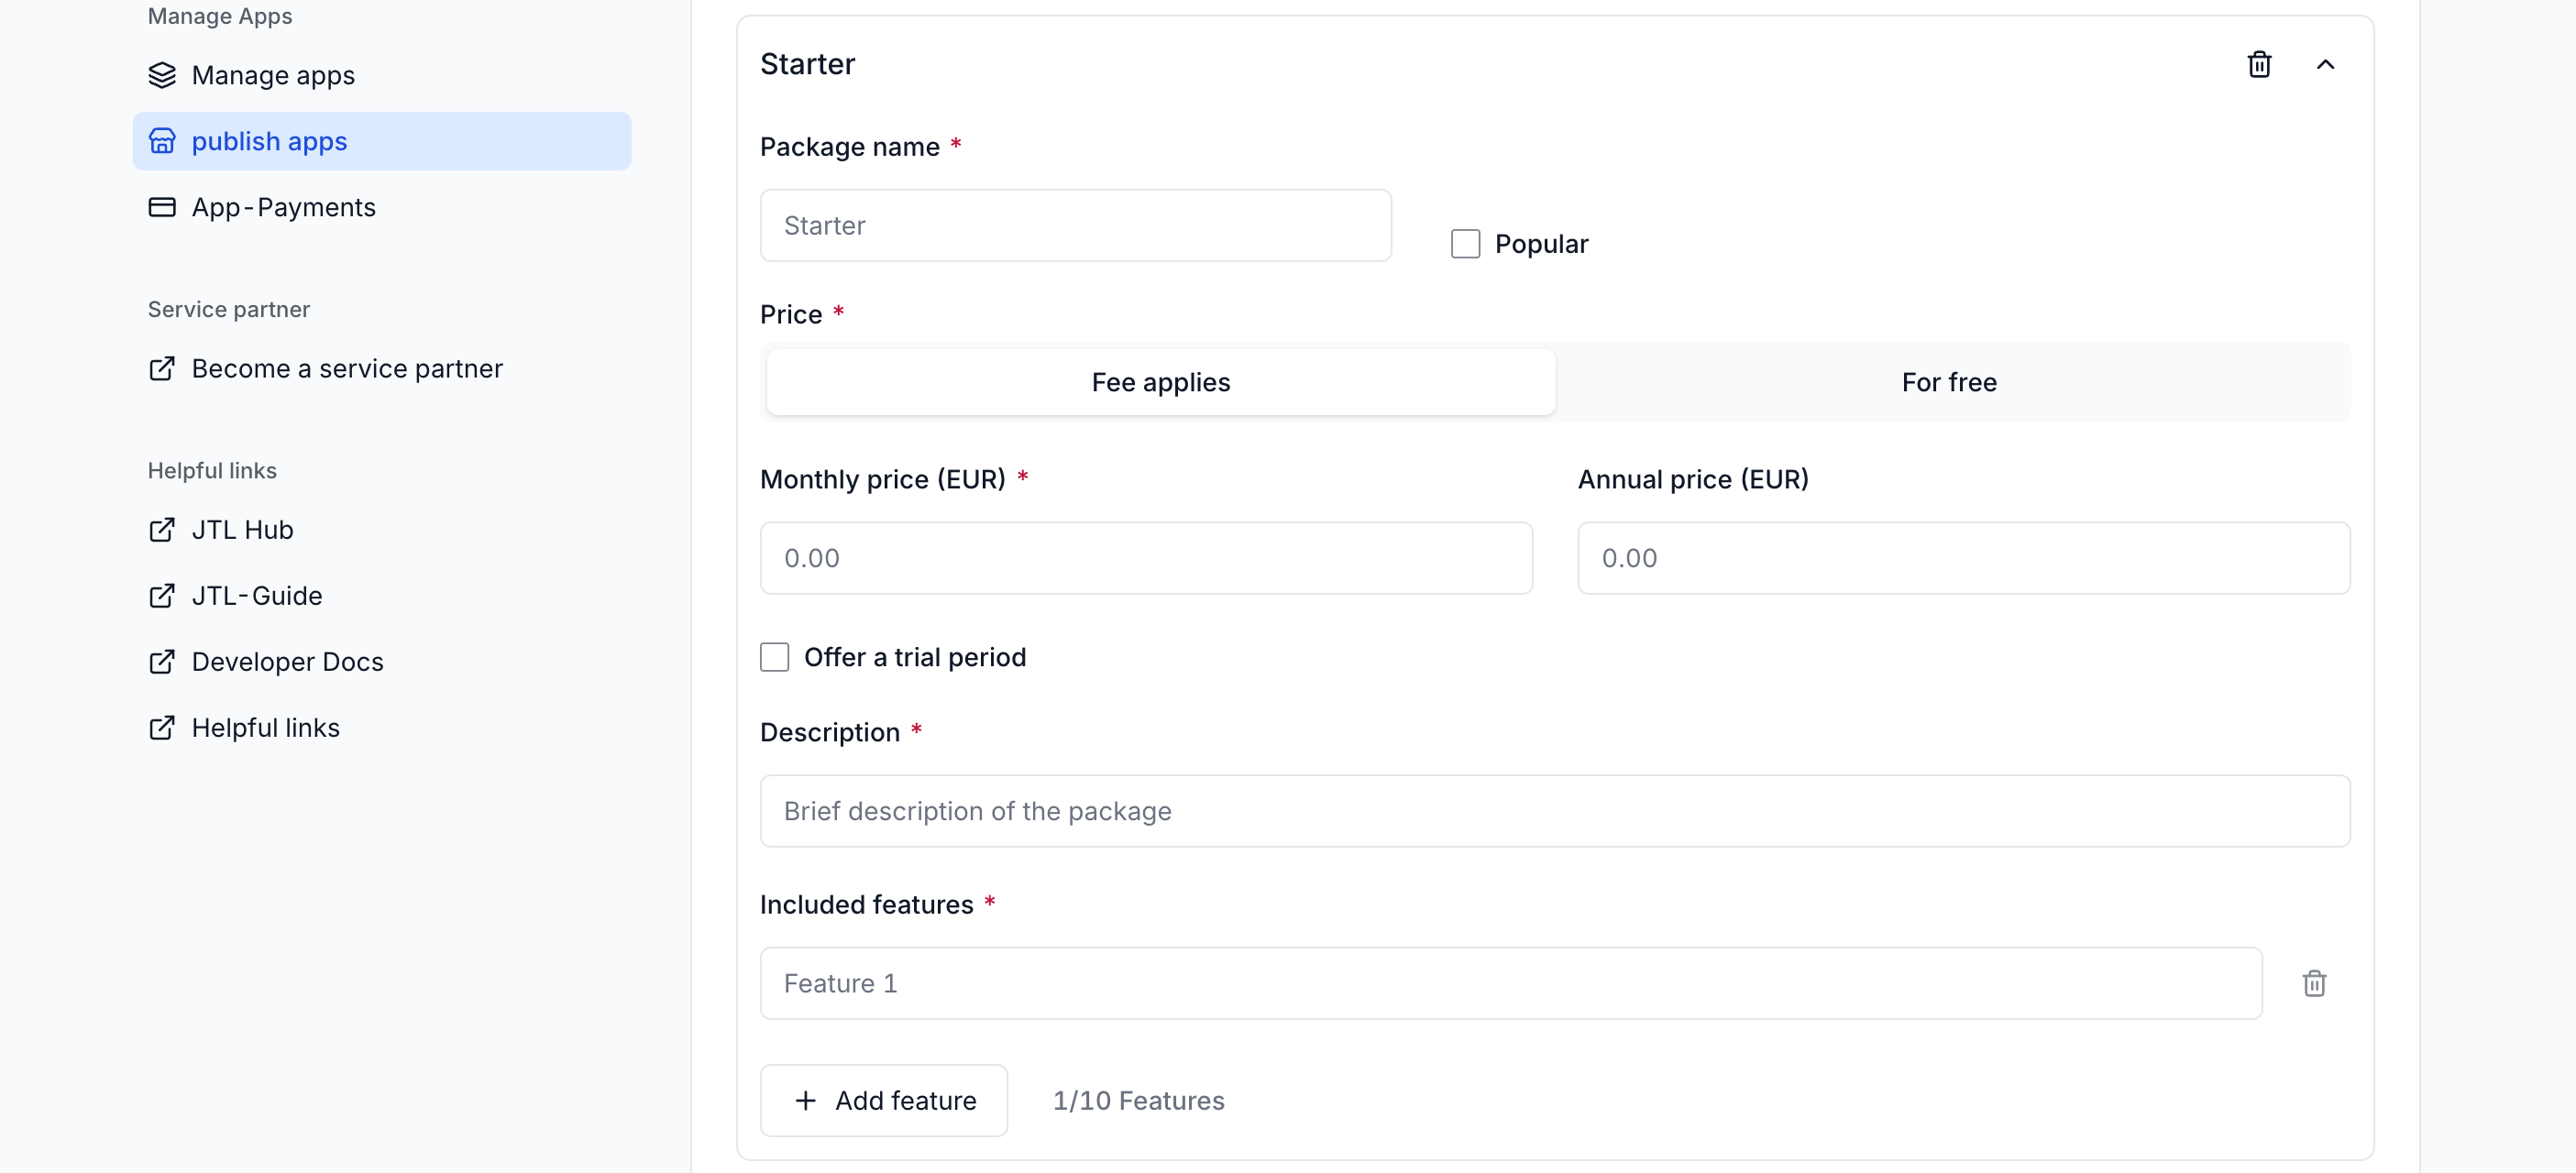
You can configure your pricing tiers now, but merchant billing through them is not yet available. Defining your tiers now ensures your listing is ready when billing becomes available.
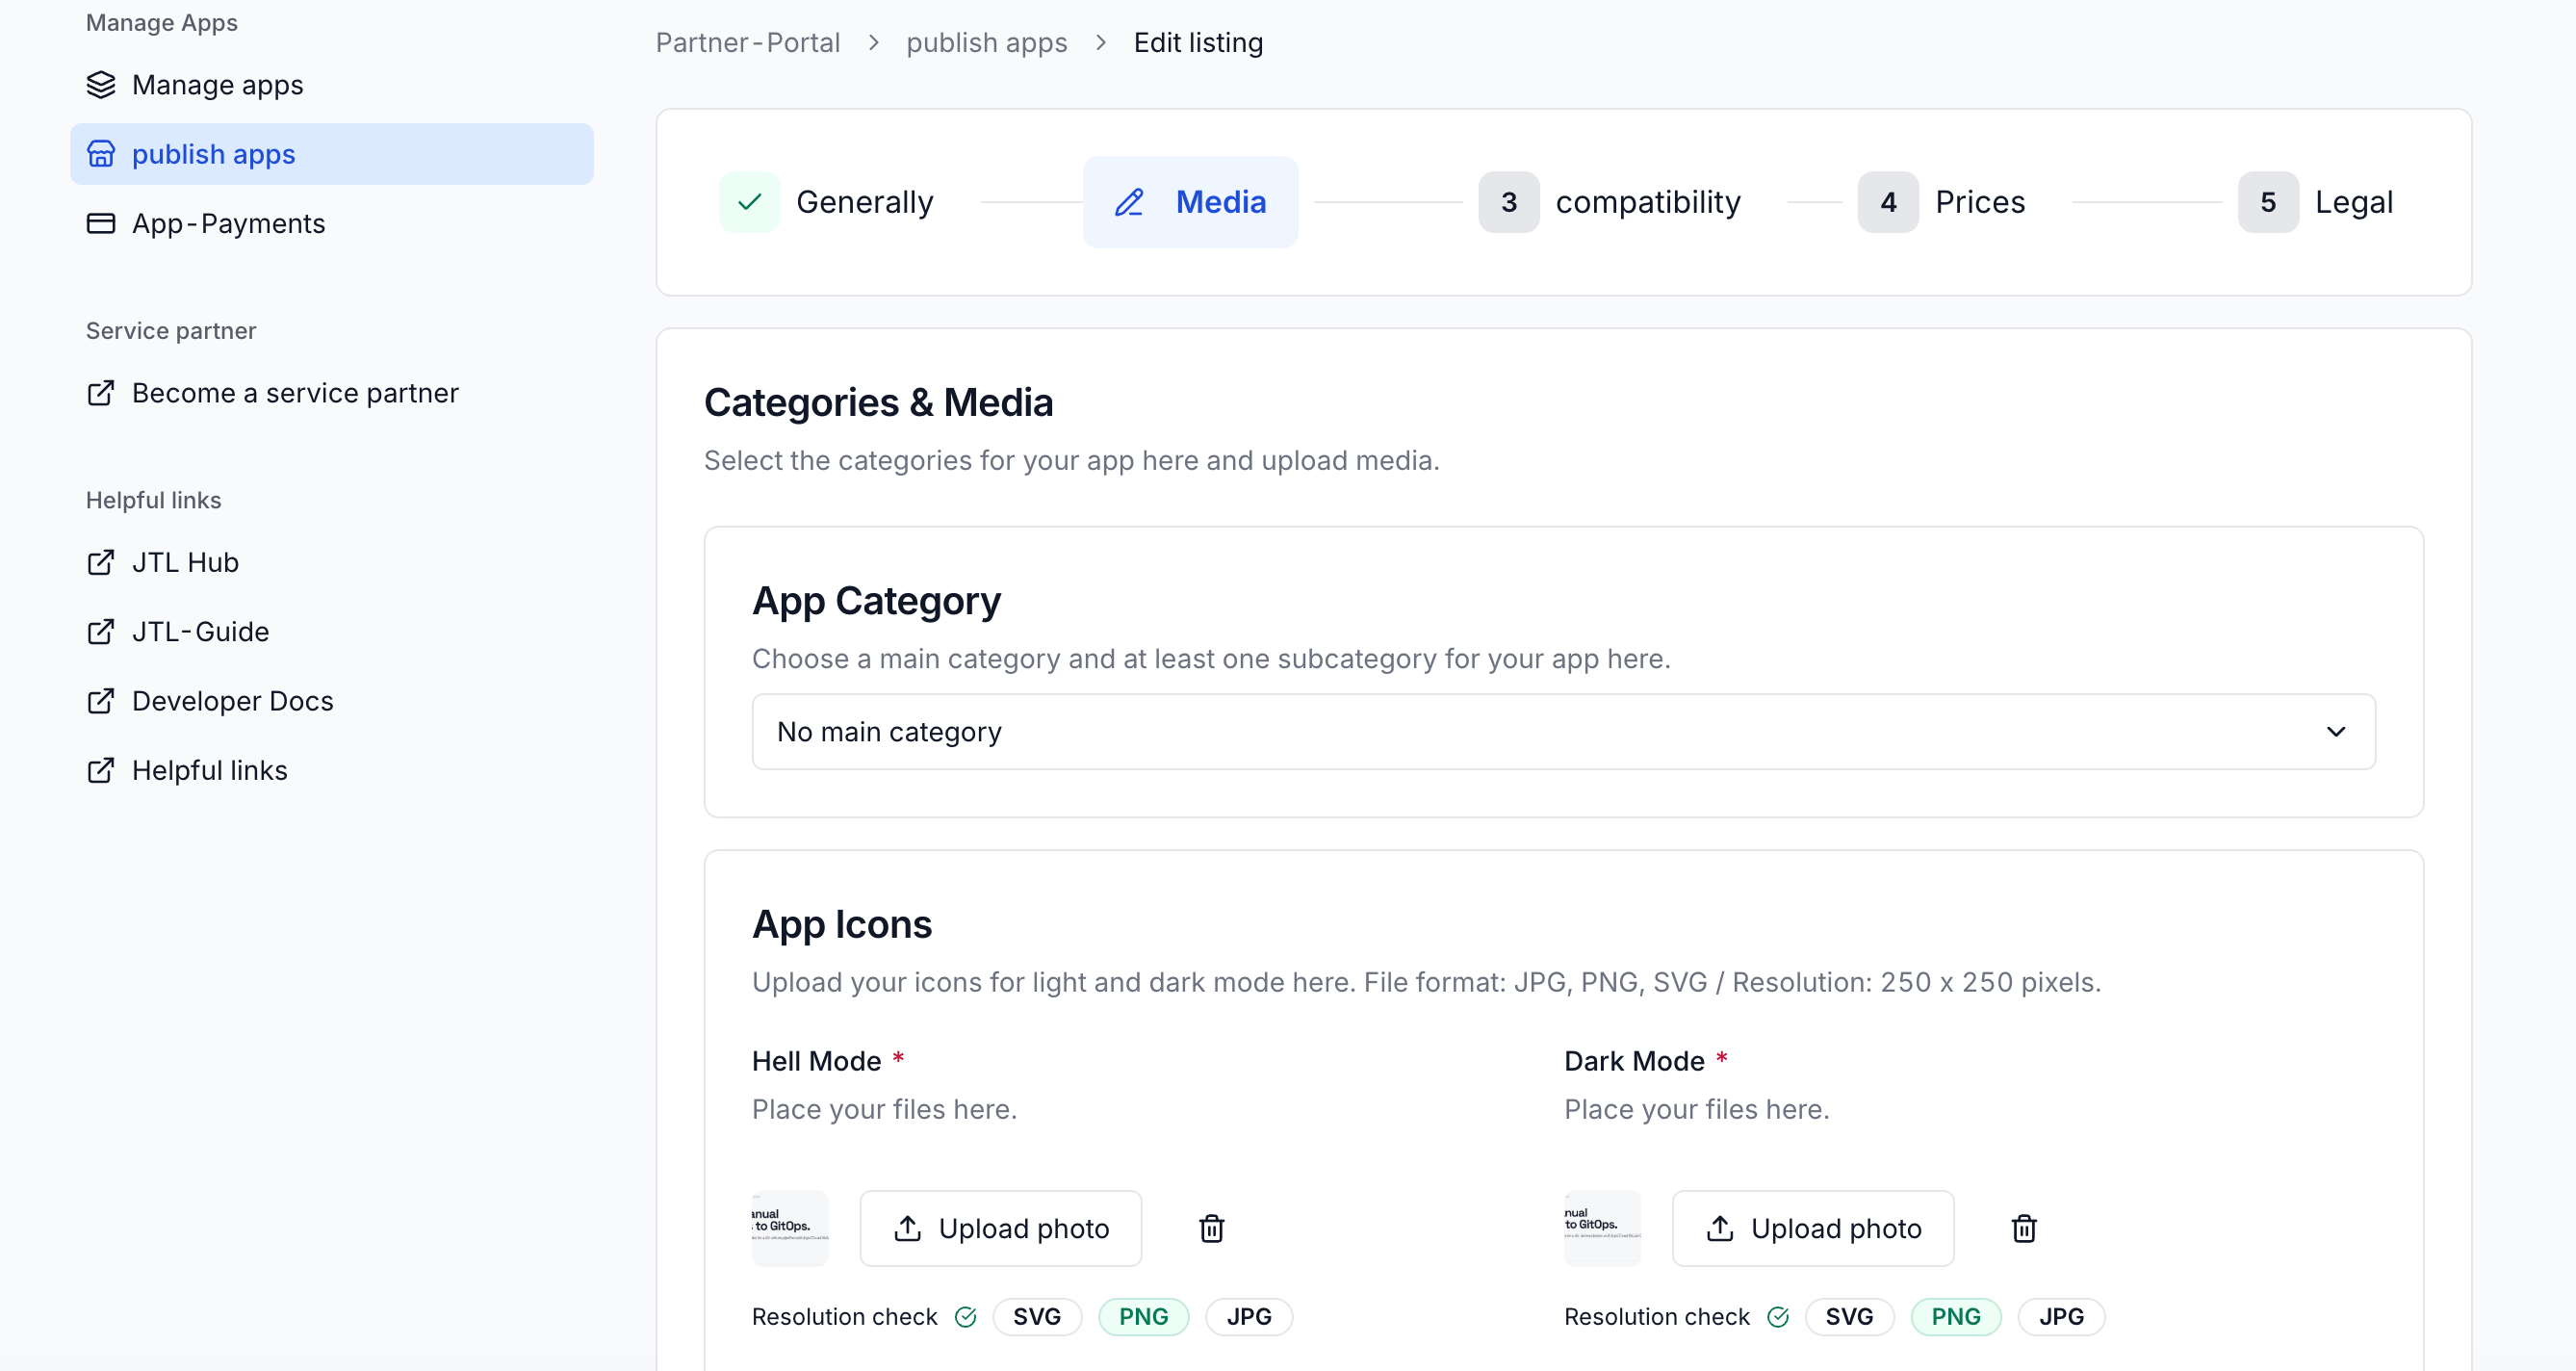
- Icons and screenshots: Replace placeholder URLs with your production assets hosted at stable, publicly accessible URLs. Provide both light and dark icon variants.
- Names and descriptions: Finalize the copy for every locale you support (
name.{locale}.short,name.{locale}.full,description.{locale}.short,description.{locale}.full). - Benefits: Provide three to five localized benefits describing the value your app offers merchants.
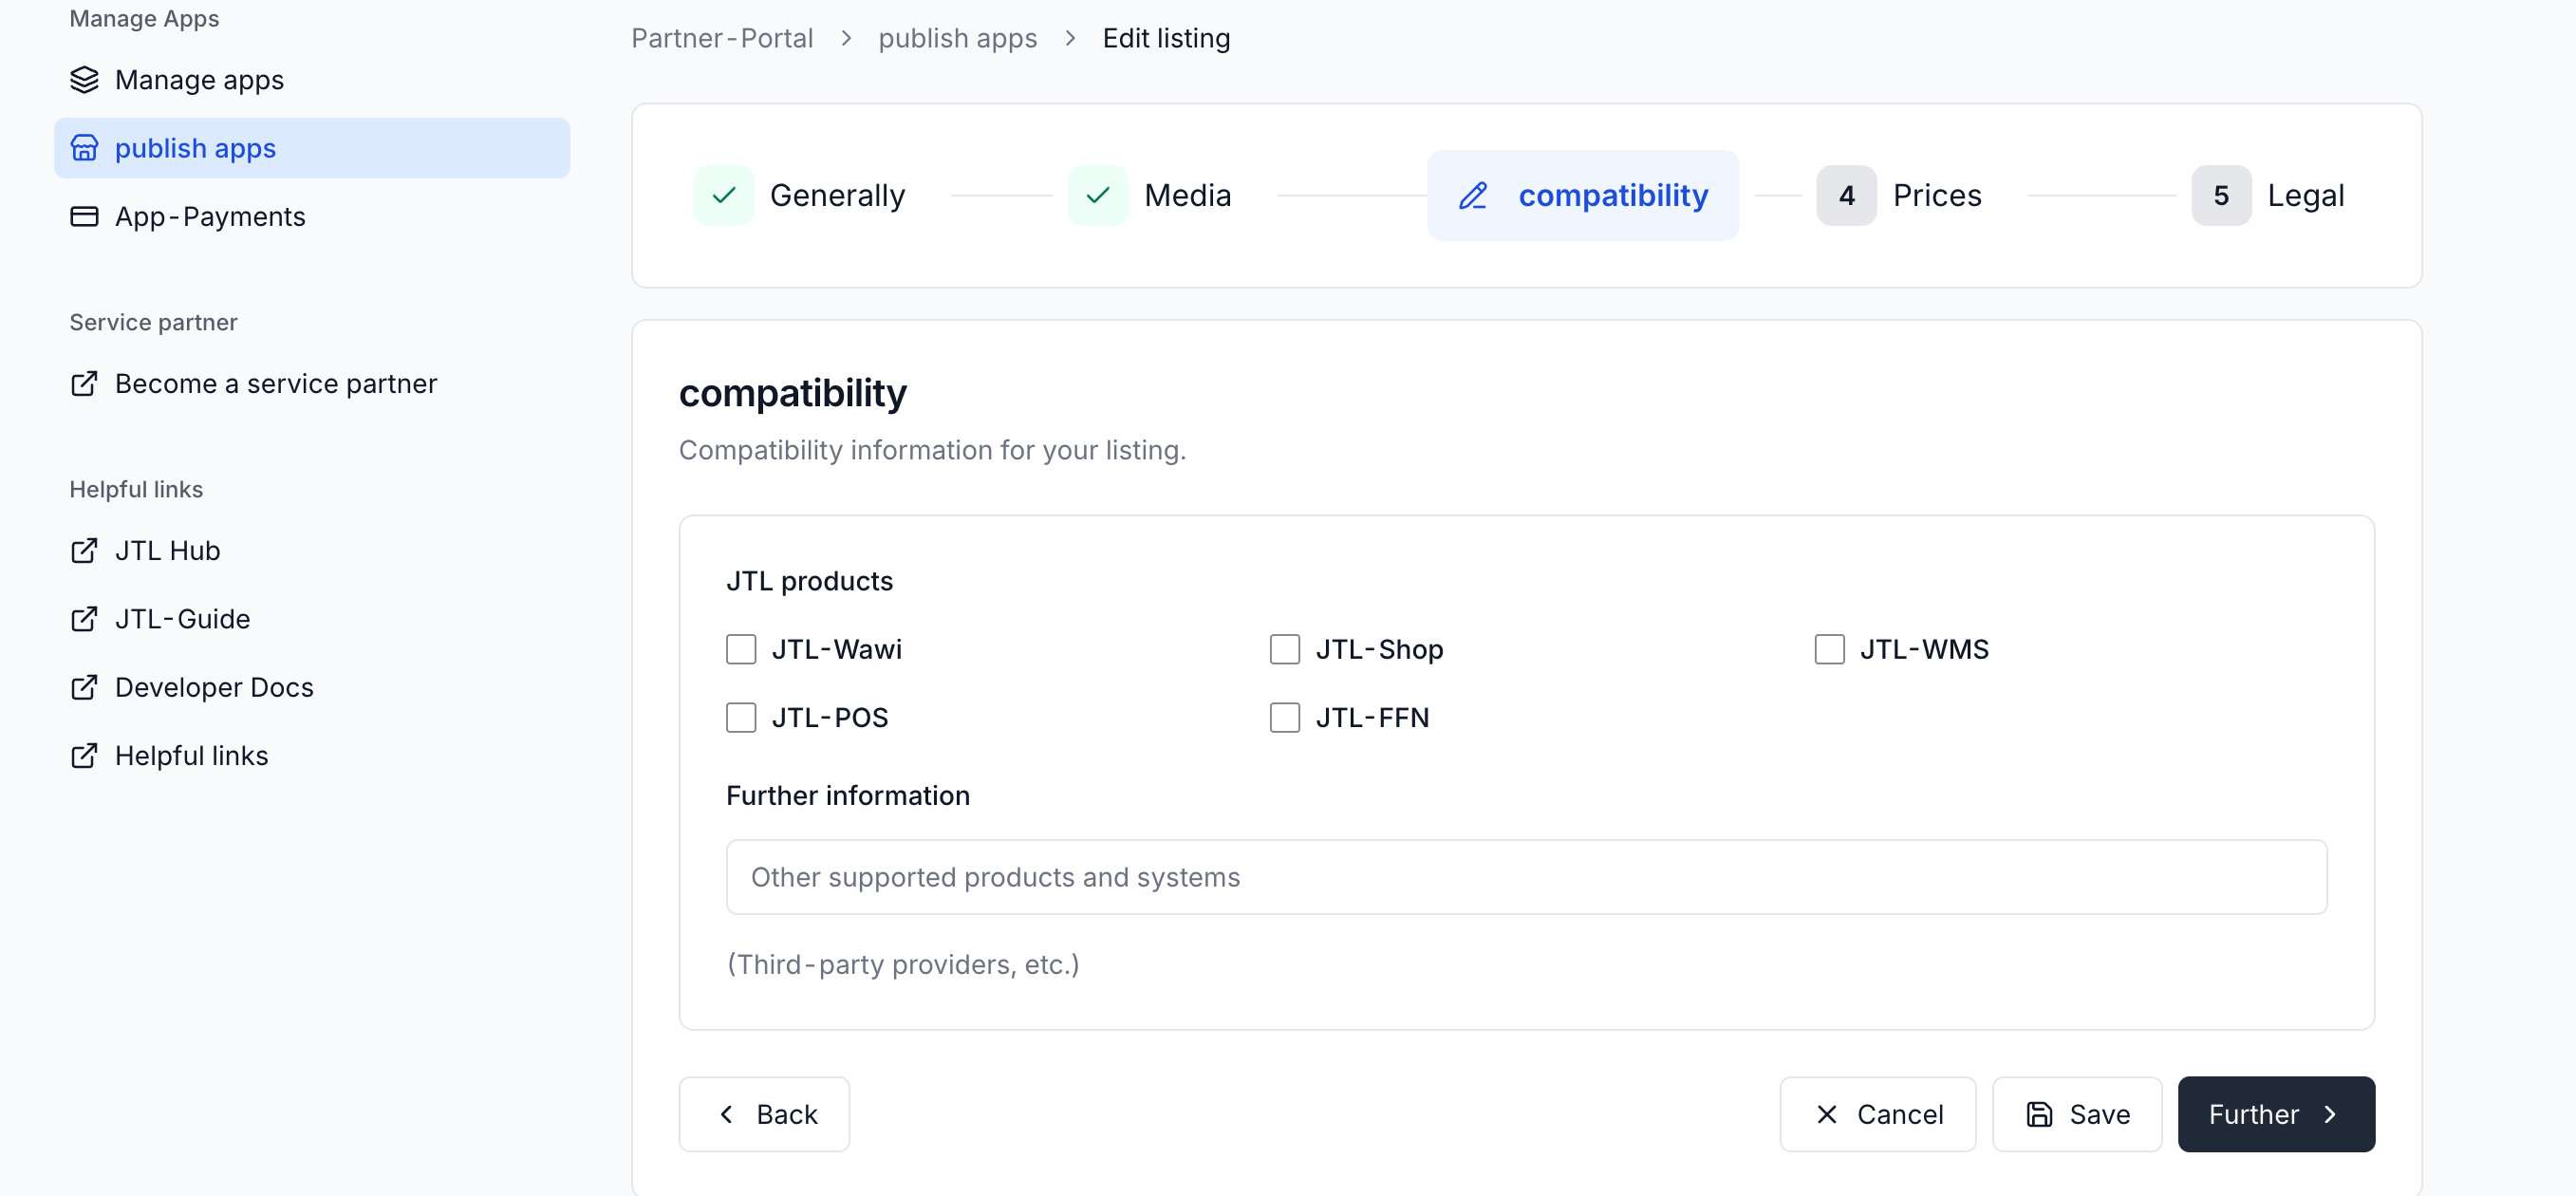
- Compatibility: List the supported JTL products and specify a valid minVersions entry for each.
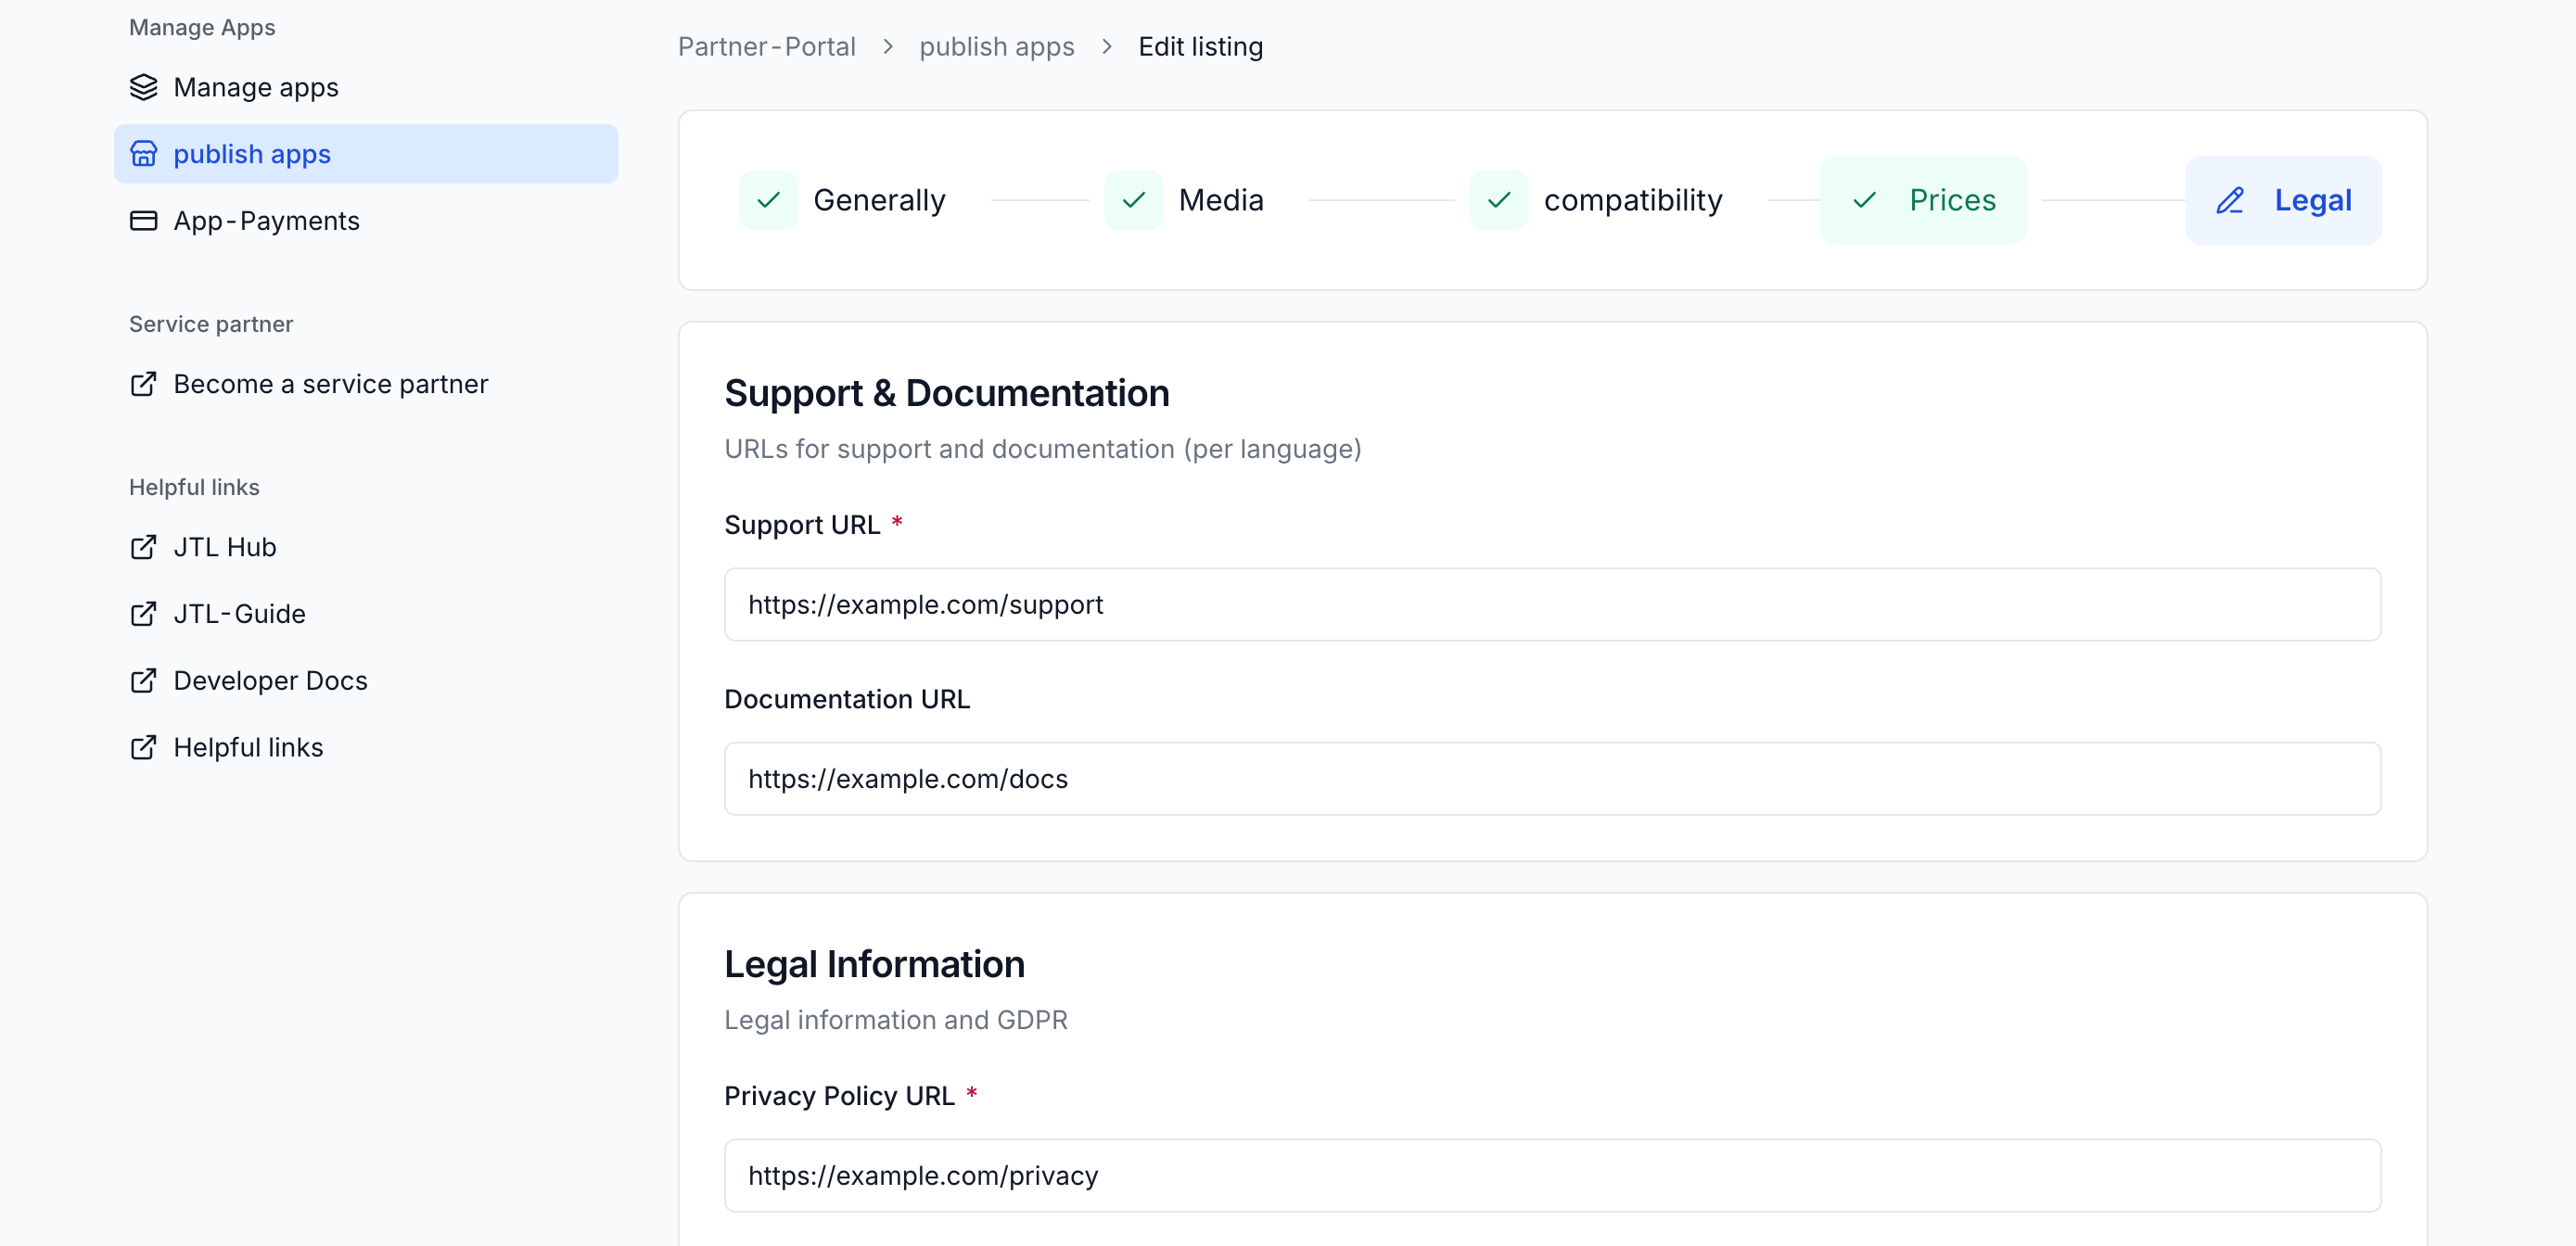
- Support URLs: Set
support.url.{locale}andsupport.documentation.{locale}to publicly accessible support and documentation pages. - Legal URLs: Ensure
legal.privacyPolicy,legal.termsOfUse,legal.gdpr.request, andlegal.gdpr.deleteall point to published pages. These are required for JTL compliance.
Create the Listing
Create your listing as a draft. All three paths produce the same listing.- CLI
- Listing Wizard
If you’re using one of the JTL Cloud App starter templates, update the If you’re building your app from scratch:The CLI reads your
listing.json file in your project root, then create the listing draft:- Create a
listing.jsonfile in your project root - Generate the listing draft:
listing.json and creates a listing in the DRAFT state in the Partner Portal.Once the listing is created, use the returned URL to open the listing in the Partner Portal to review and submit it.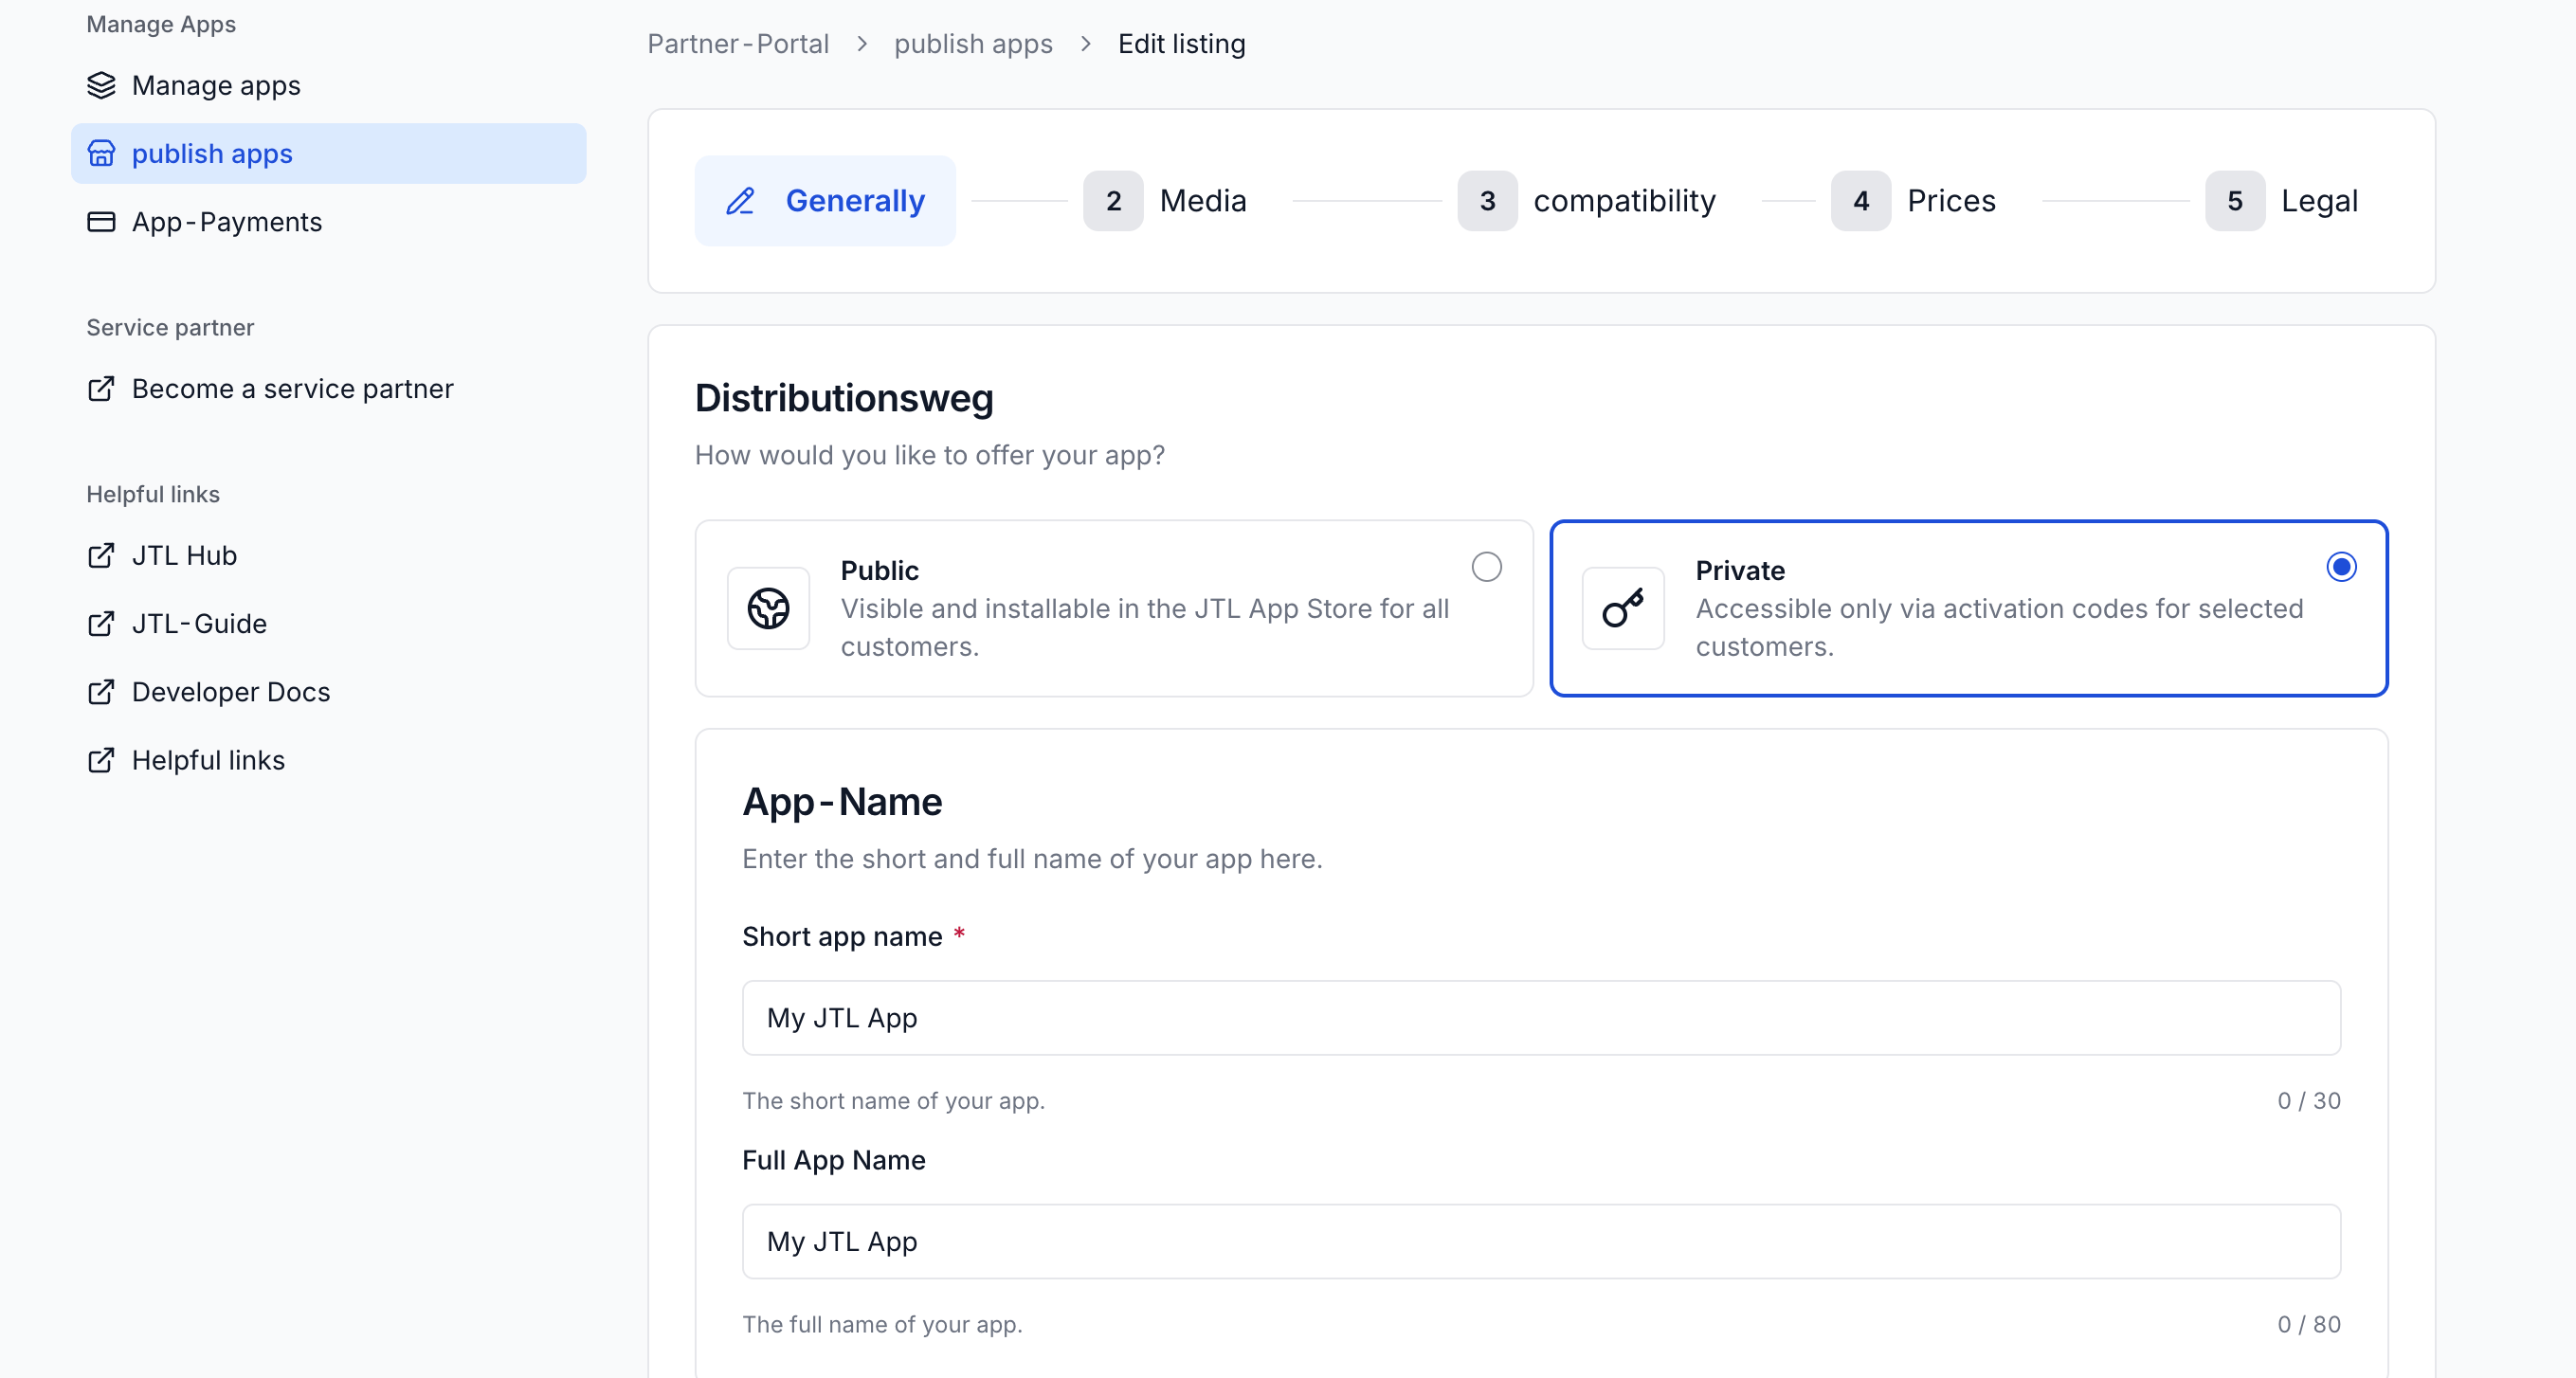
Submit your Listing
Submit your listing when it’s complete. Because private apps skip App Store review, your listing is ready to share once submitted.Generate and Share Activation Code
Generate an activation code for your app in Partner Portal under Manage apps. Send the code to your customer directly, for example by email, along with instructions for redeeming it. A private app you build under your own tenant isn’t visible in another merchant’s tenant, so the code is what gives them access to install it.1
Open the Partner Portal
Go to Partner Portal and open Manage apps. In the app list, click the three-dot menu for your app and select Activation codes.
2
Generate a code for your app
Generate an activation code by clicking on the Create activation code button.A dialog will show where you can manually input your custom activation code or auto-generate one by clicking the dice icon.
The code is a plain-text string tied to your private app.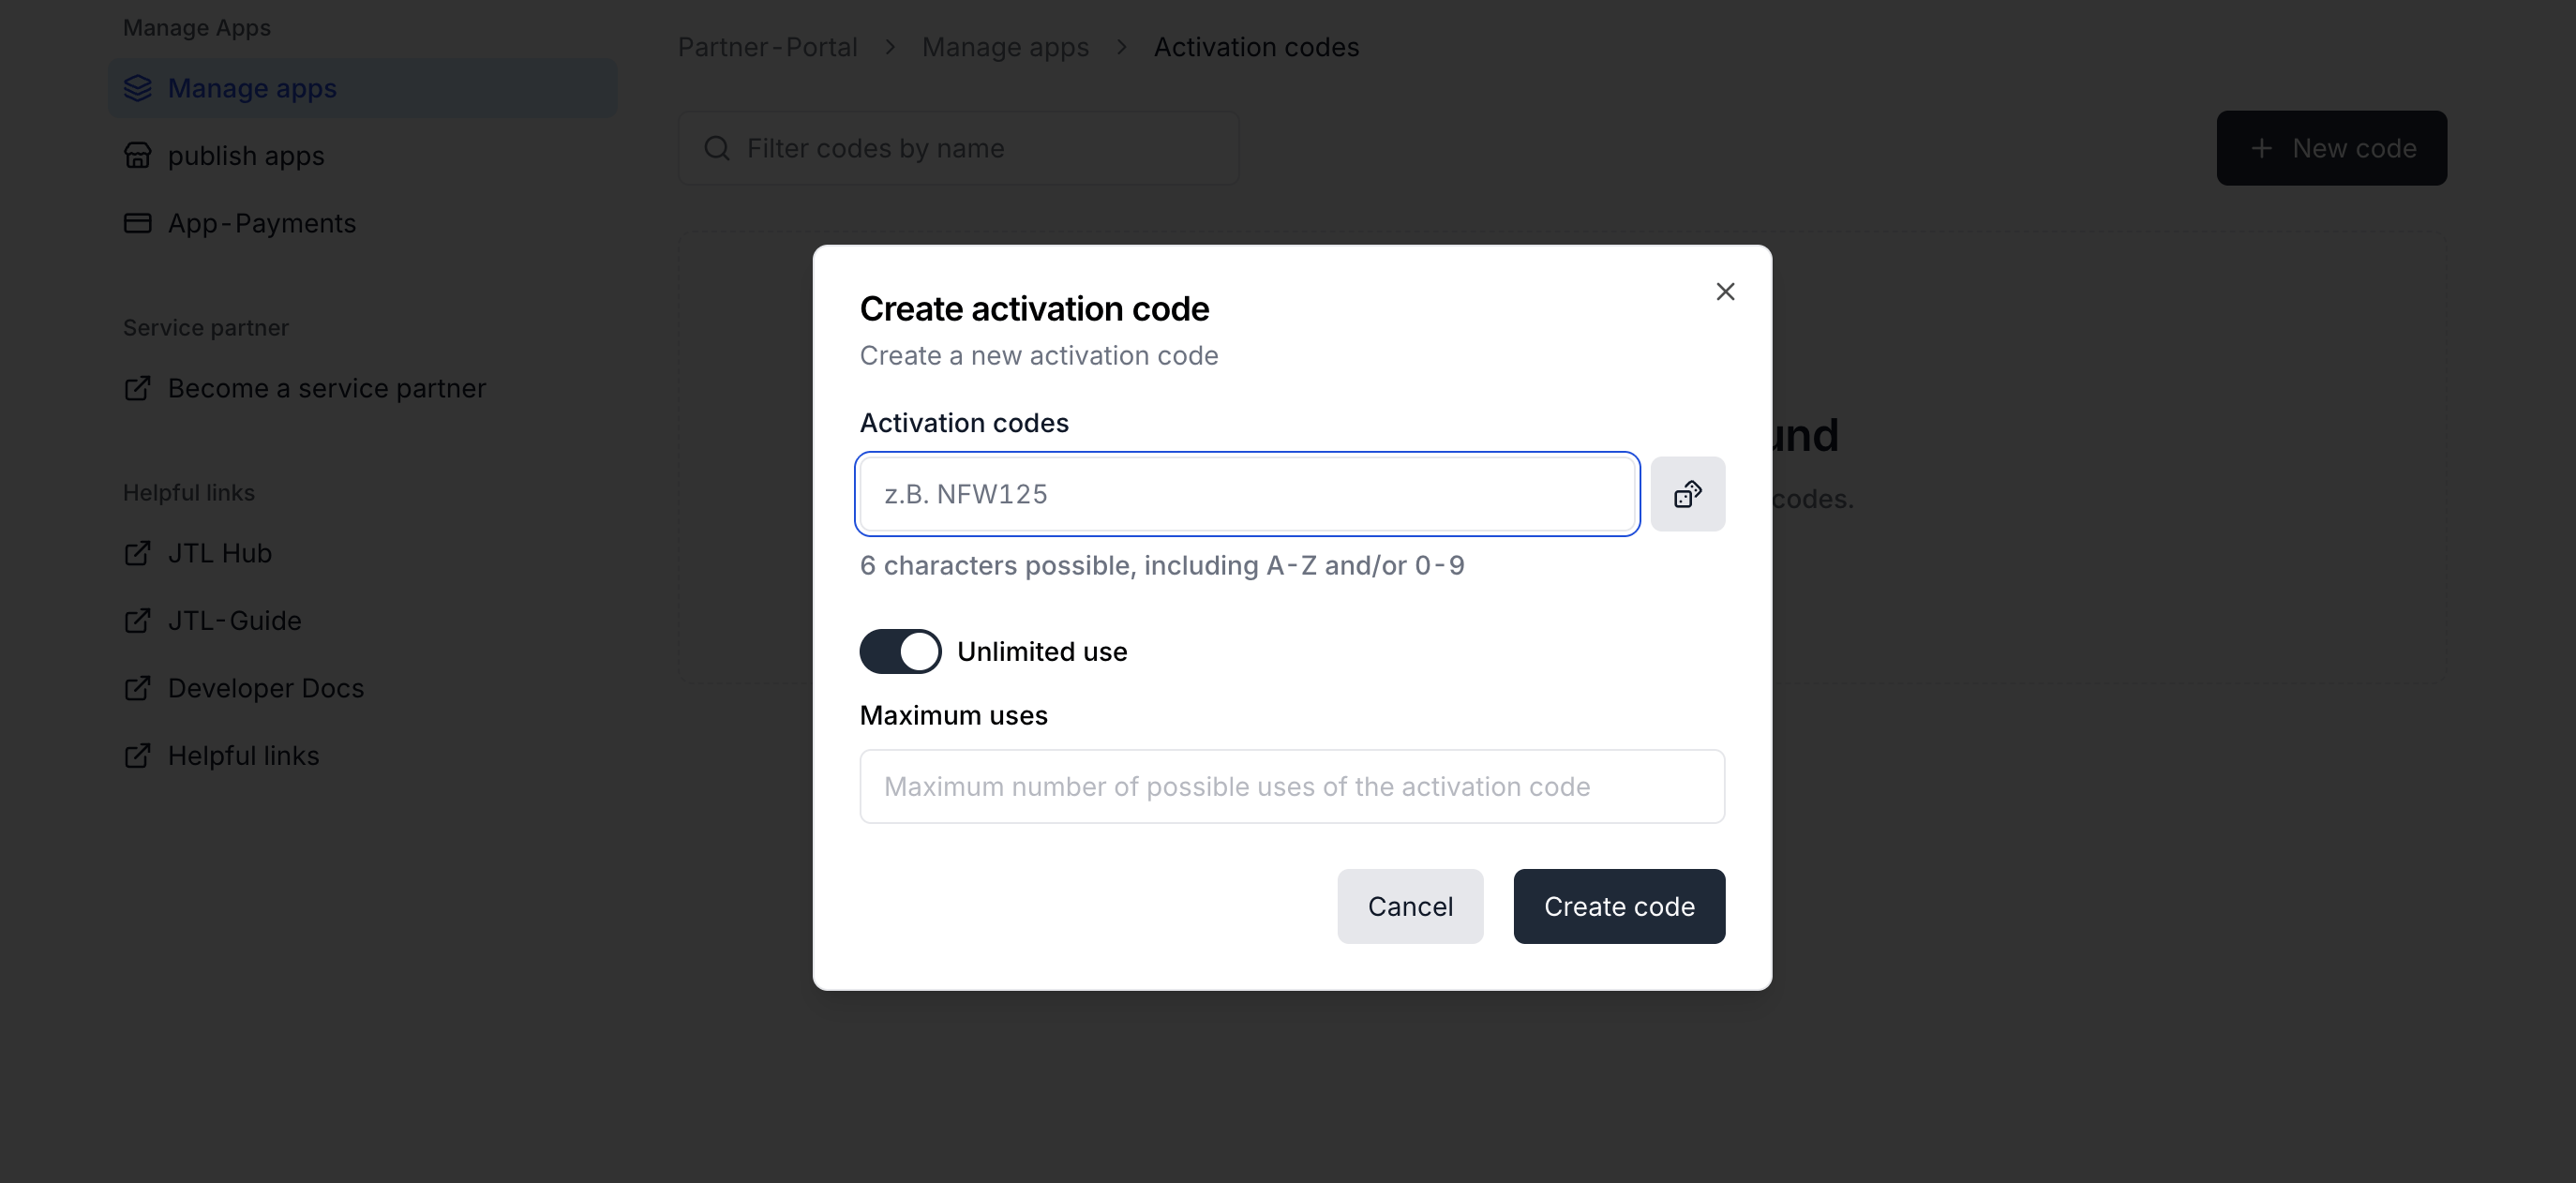
How a Merchant Redeems a Code
Include these steps when you send the code:1
Open Manage apps menu in JTL Hub
In JTL Hub, open Manage apps.
2
Start activation
At the bottom of the page, click the Activate now button. A dialog opens.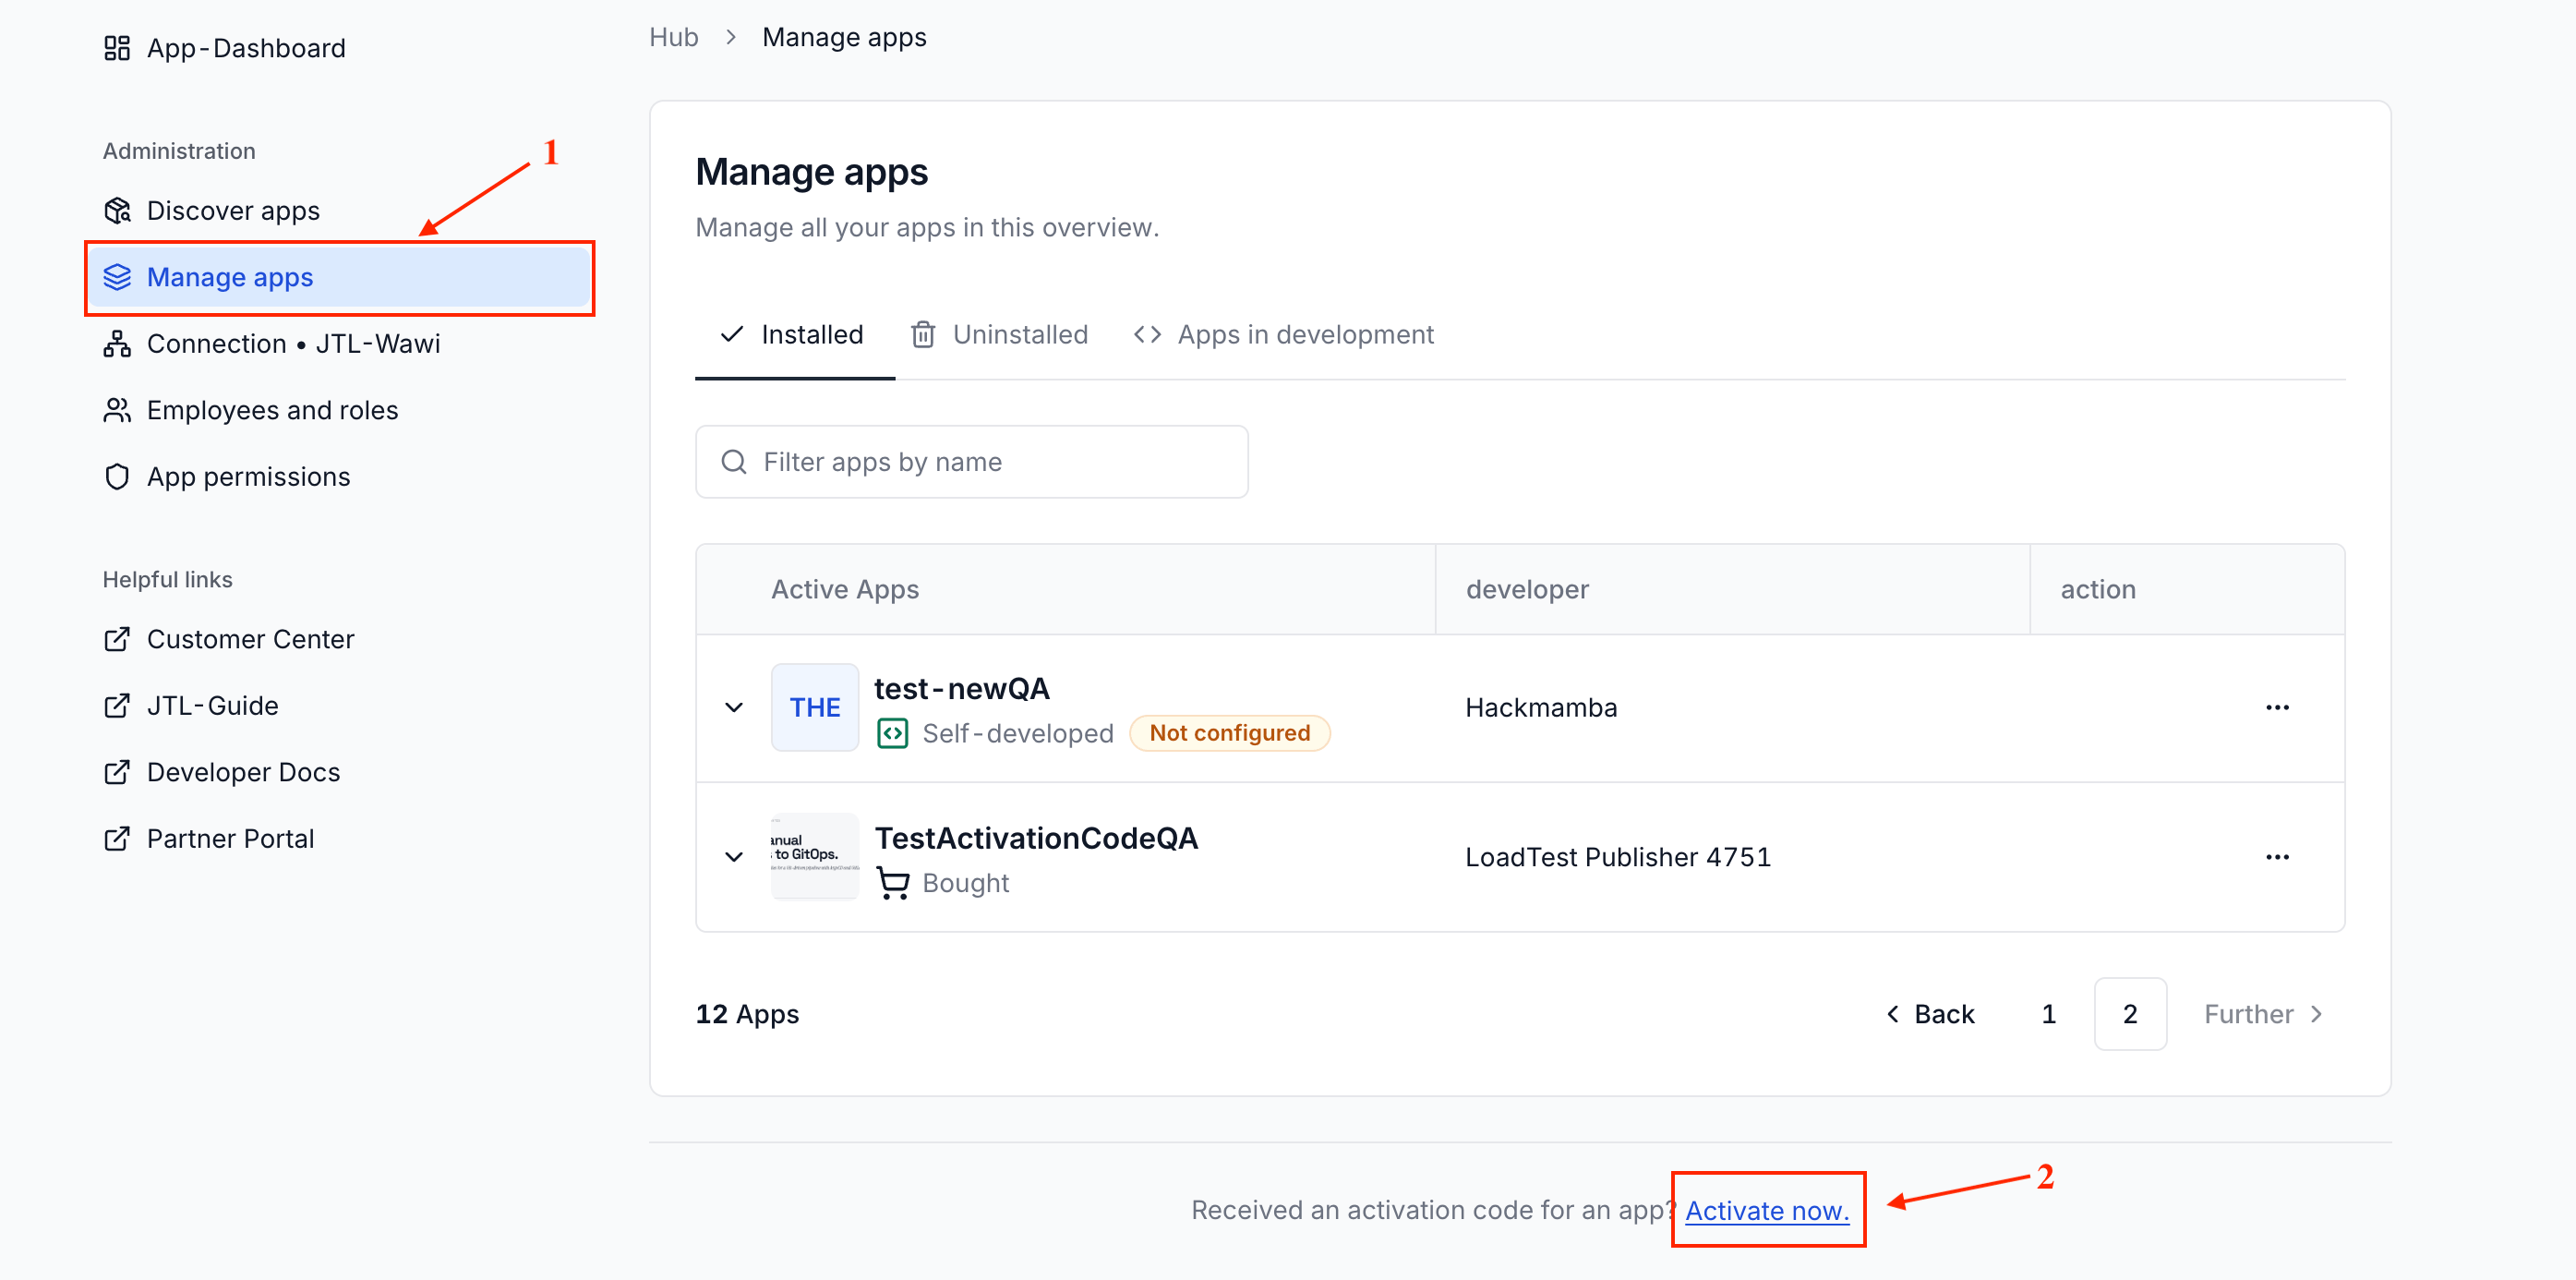
3
Enter the code
Enter the activation code you received from your partner and follow the prompts to install the app.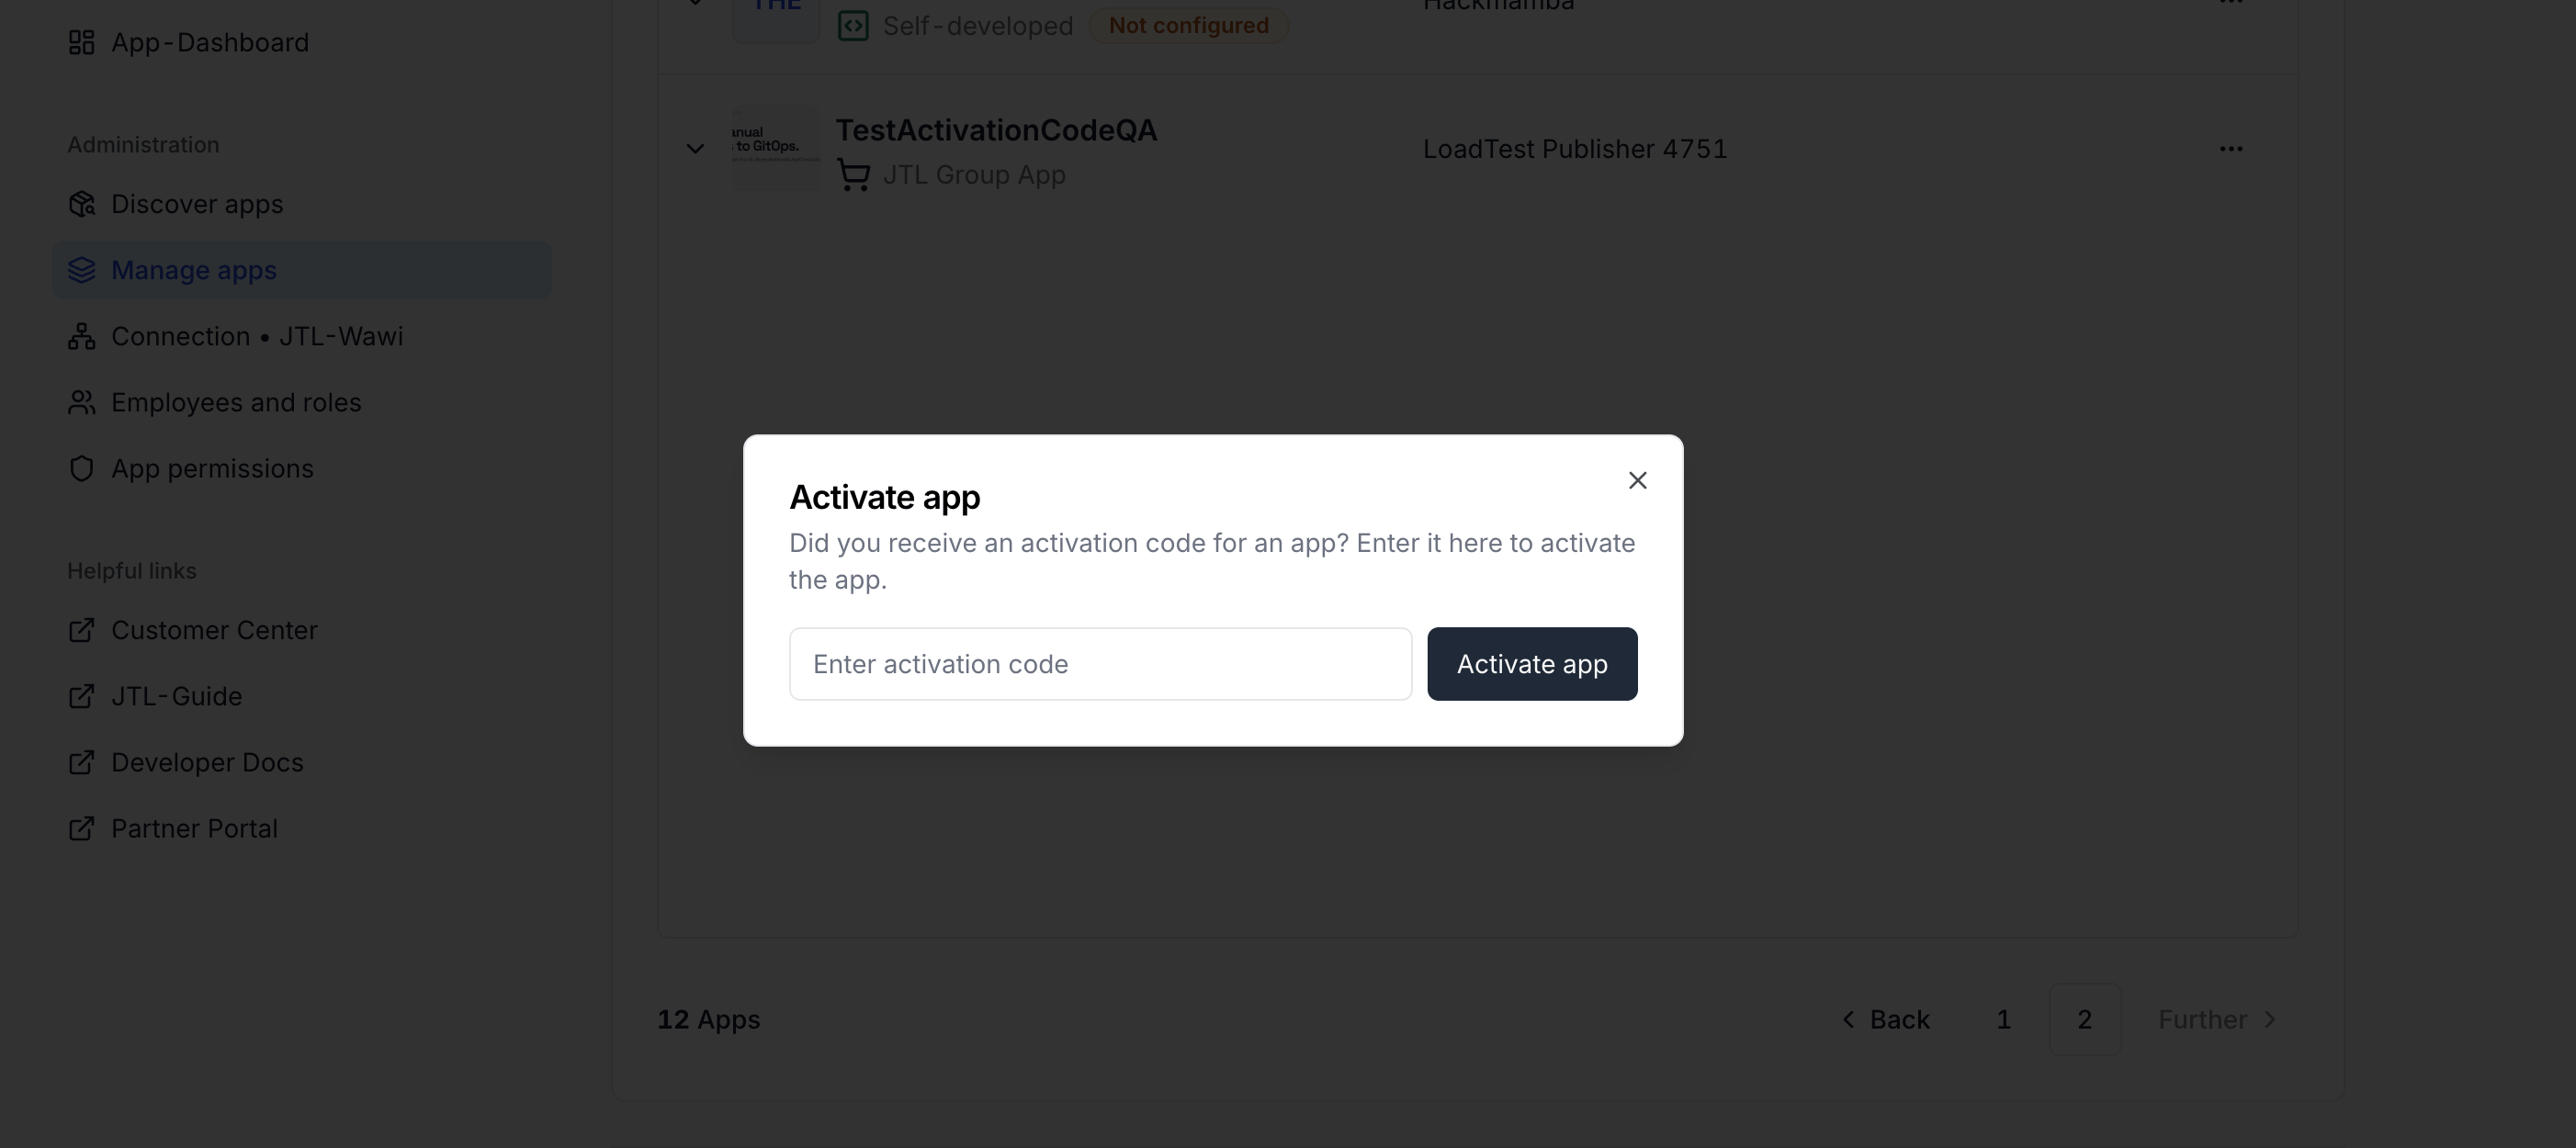
What’s Next?
Publish to the App Store
Ready for a wider audience? Publish your app for all merchants to find and install.
App Shell & UI
Add panel views, custom tabs, and deeper ERP integration to your app.